Final Interface Design
Dec 13th, 2015 by kims23
Final Interface Design
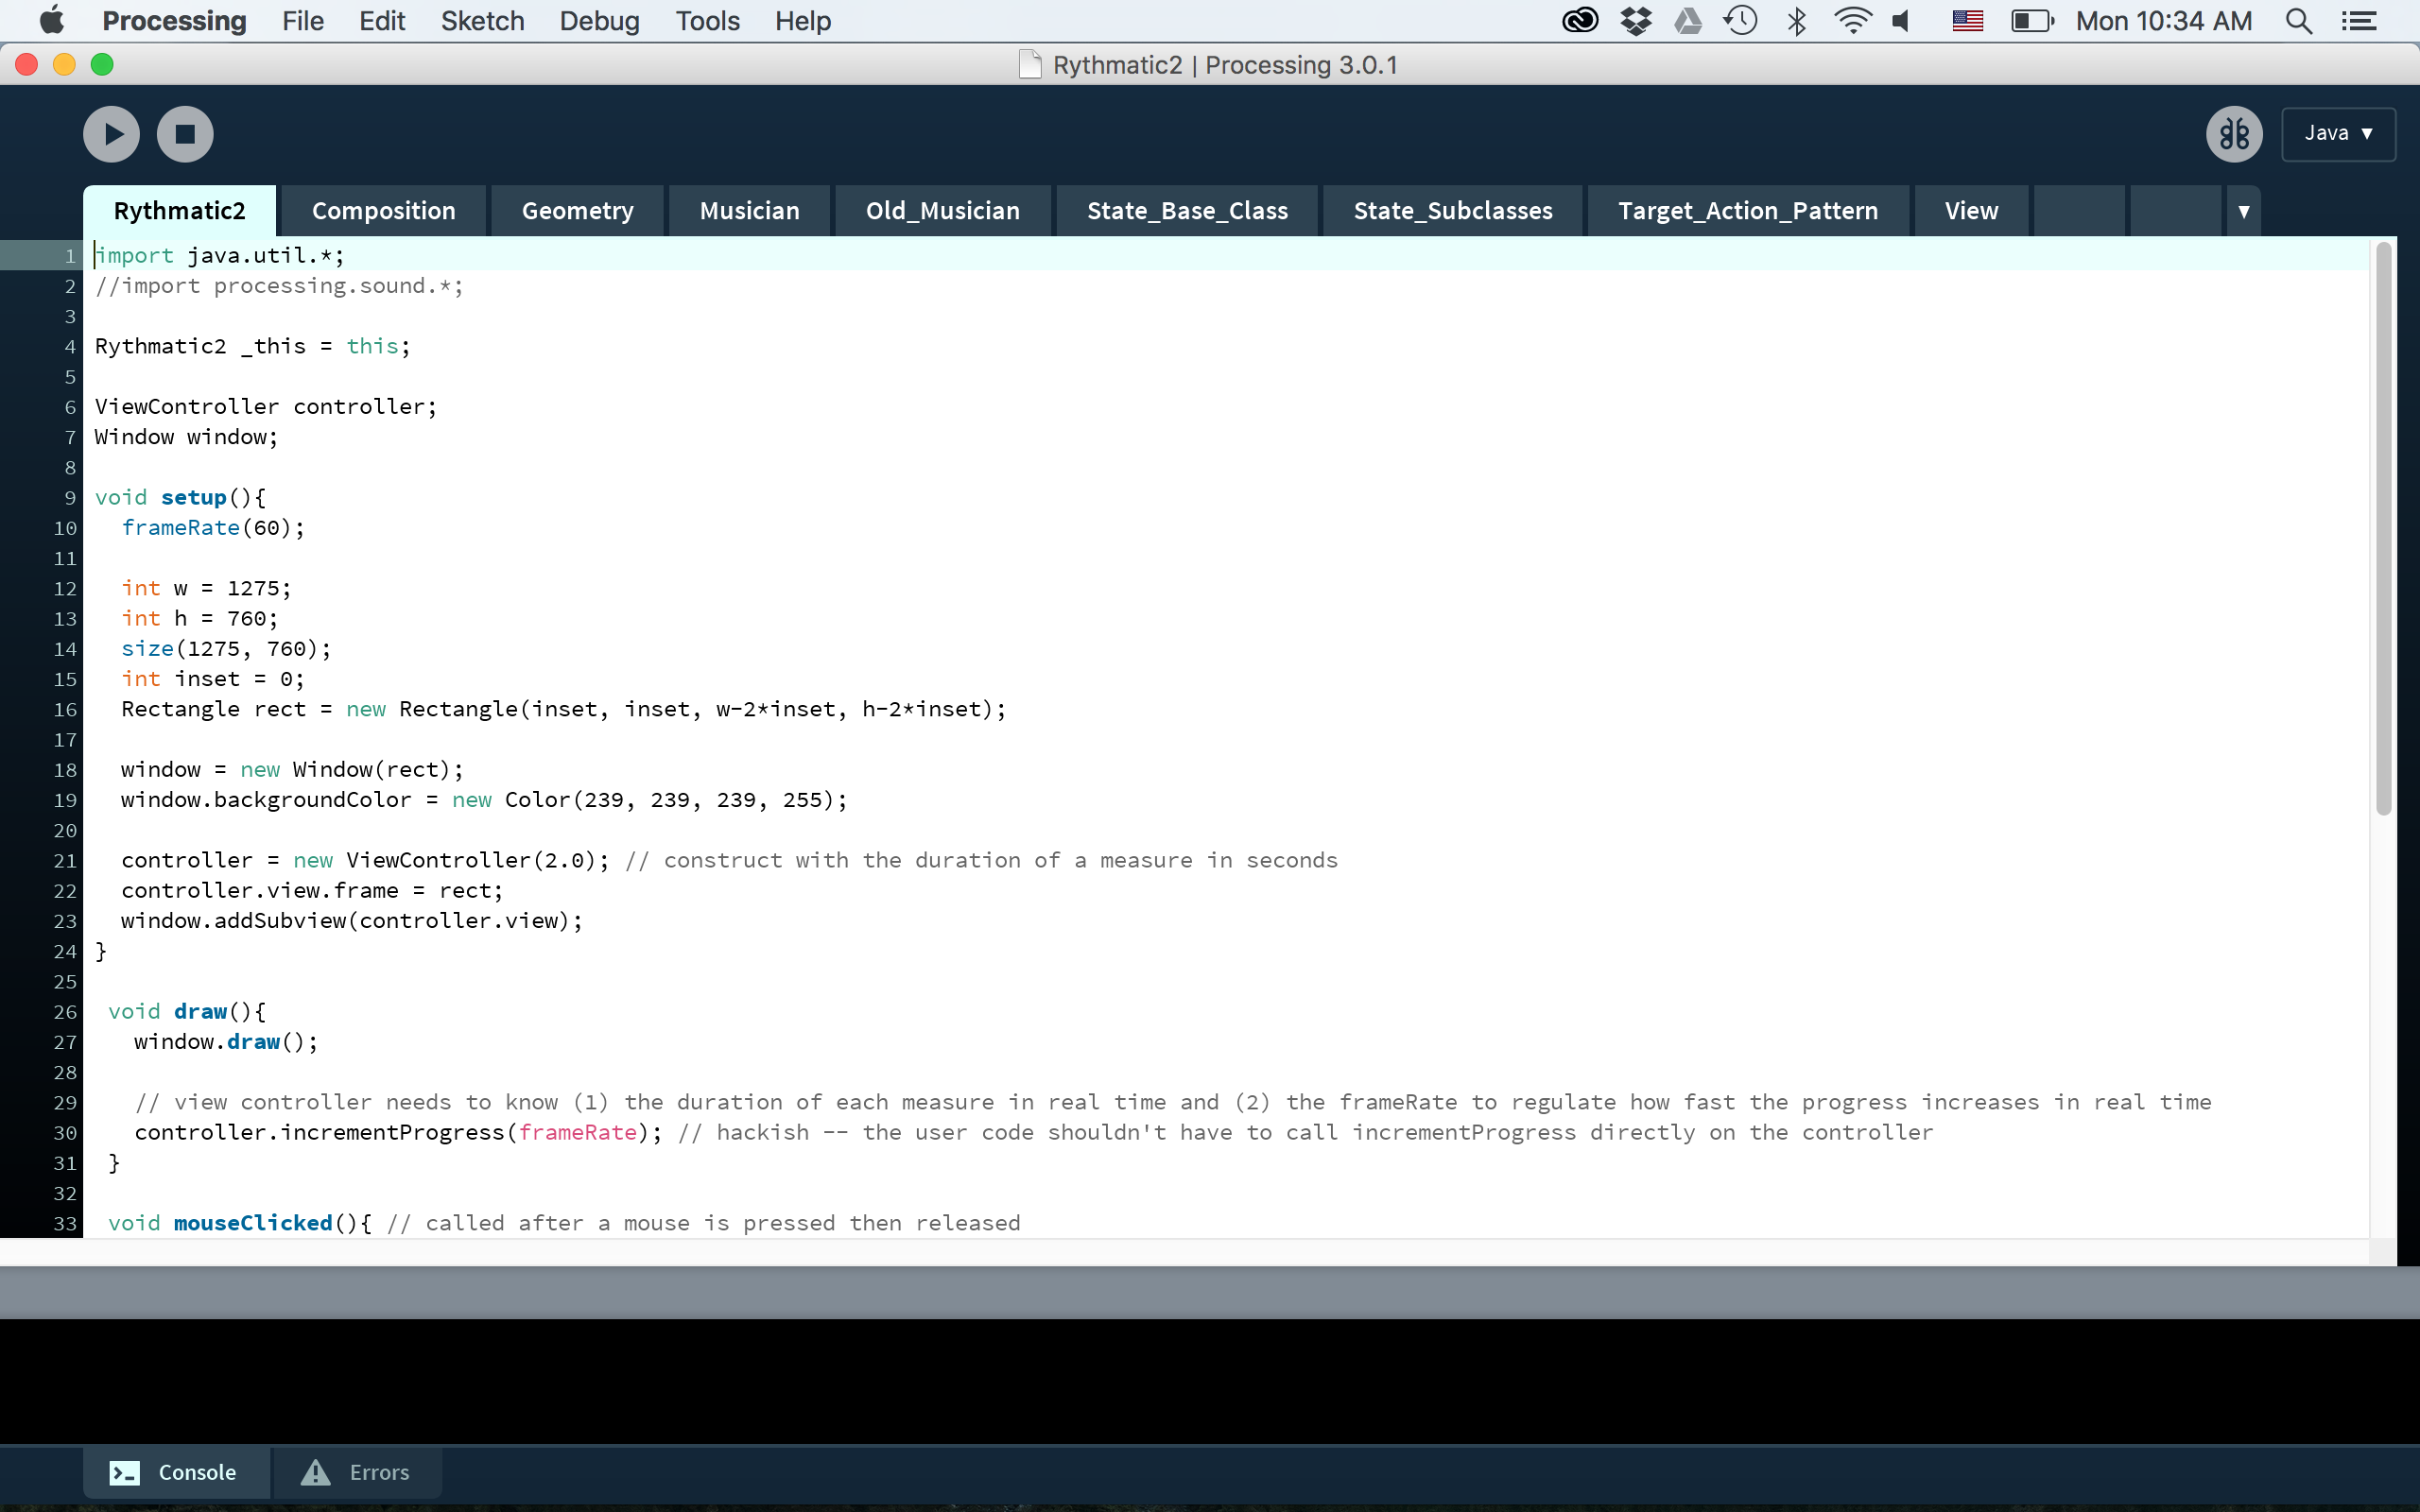

PROCESSING TOOL
This tool illustrates rhythmic patterns by taking live input from the user and graphing it on a timeline. The tool is capable of recording rhythms onto separate timelines, and then playing the rhythms back. It features multiple tracks to store unique rhythms, which can be played back individually or altogether. Individual tracks can also be deleted if desired.
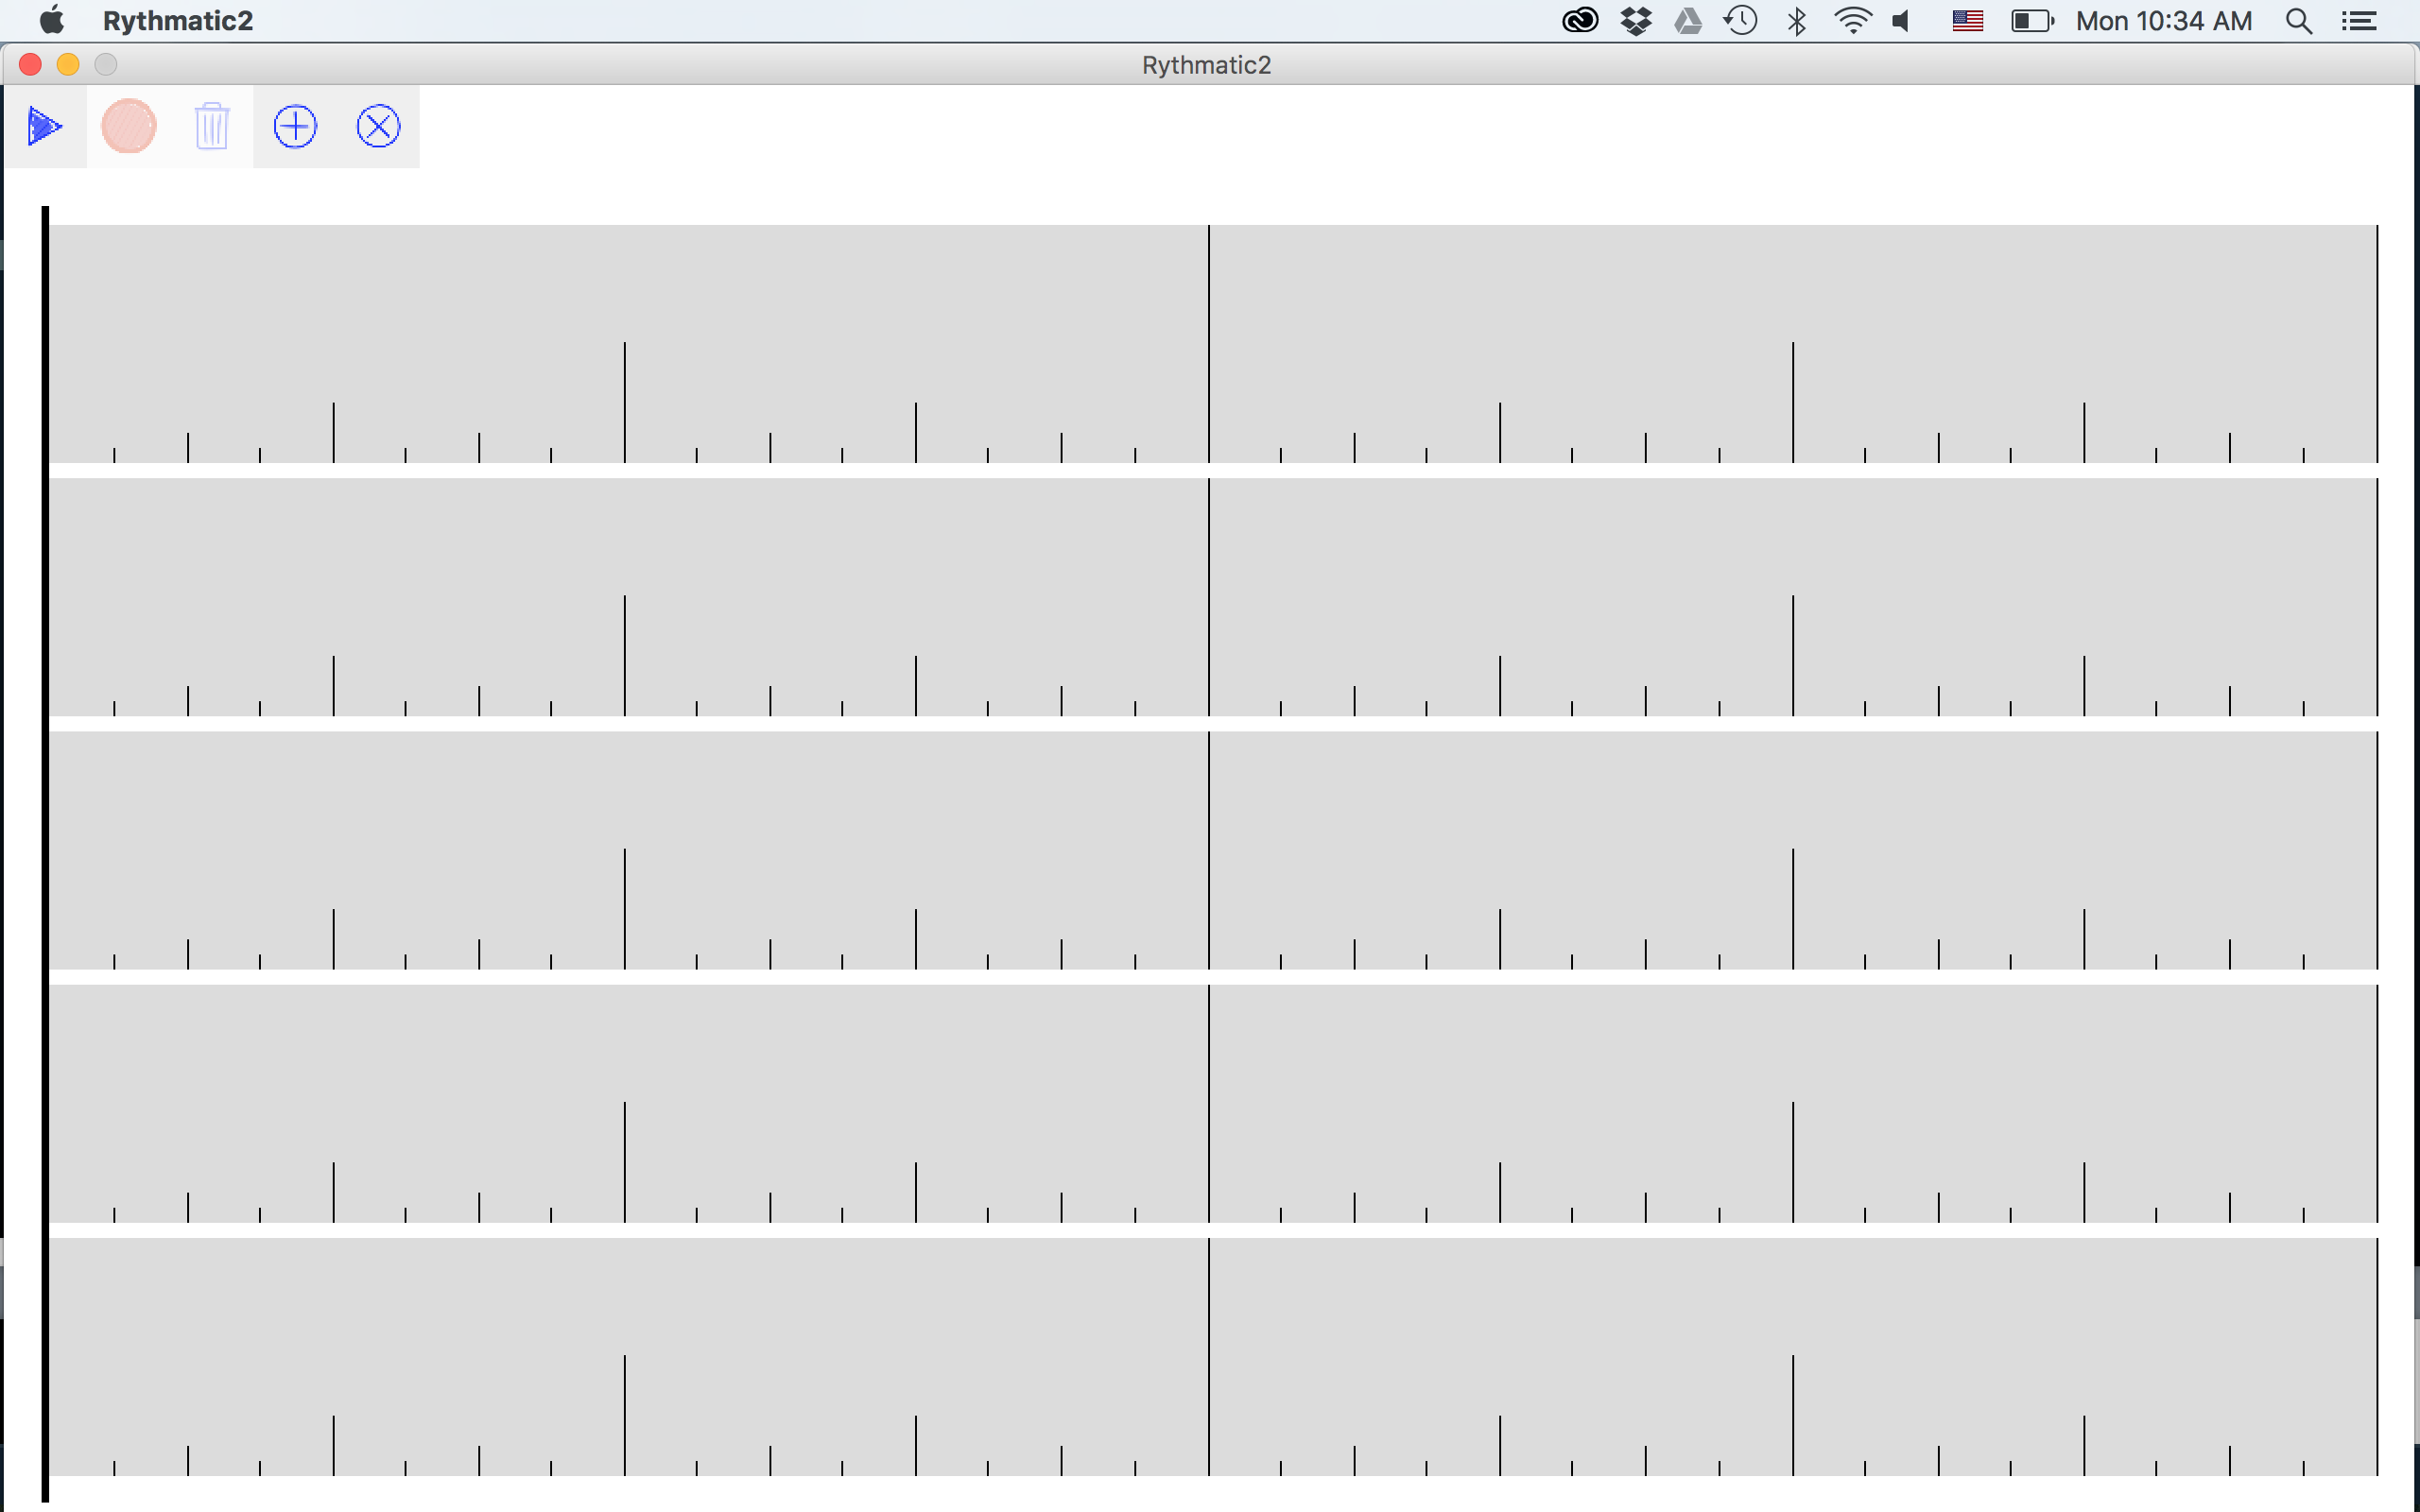
When you run the tool, you’ll see an interface with a single timeline with ruler-like markings as well as a series of buttons in the upper left.
To record a rhythm onto the timeline, first select the timeline so that it becomes blue. When you are ready, click on the red circle (record) button to start. The scrollbar will start moving from the left side of the screen to the right. Tap the spacebar to input a note; a bar should appear on the timeline at the scrollbar’s current position. When you tap a sequence of notes, boxes will form between one note and the next note, representing the length of time that the first note lasts for. When the scrollbar has reached the right side of the screen, the recording will be finished.
To stop the recording, click on the pause button that appears when recording starts.
To play back the rhythm, simply click the triangle (play) button. The playback will produce a sound at the start of each note; the duration of the note is marked by the box that follows.
To add a new timeline, press the “+” button. The existing timelines will shrink towards the top of the screen and the new timeline will appear below them. Click on it to select it for recording or playing back. Each timeline features a different musical instrument to differentiate between them.
To play back the recordings together, click on the active timeline to deselect it. All timelines should be gray. You may then click on the triangle (play) button to hear them all together.
To delete a timeline, select it, then click on the trashcan button. The other timelines will shift back down and expand to fill the screen.
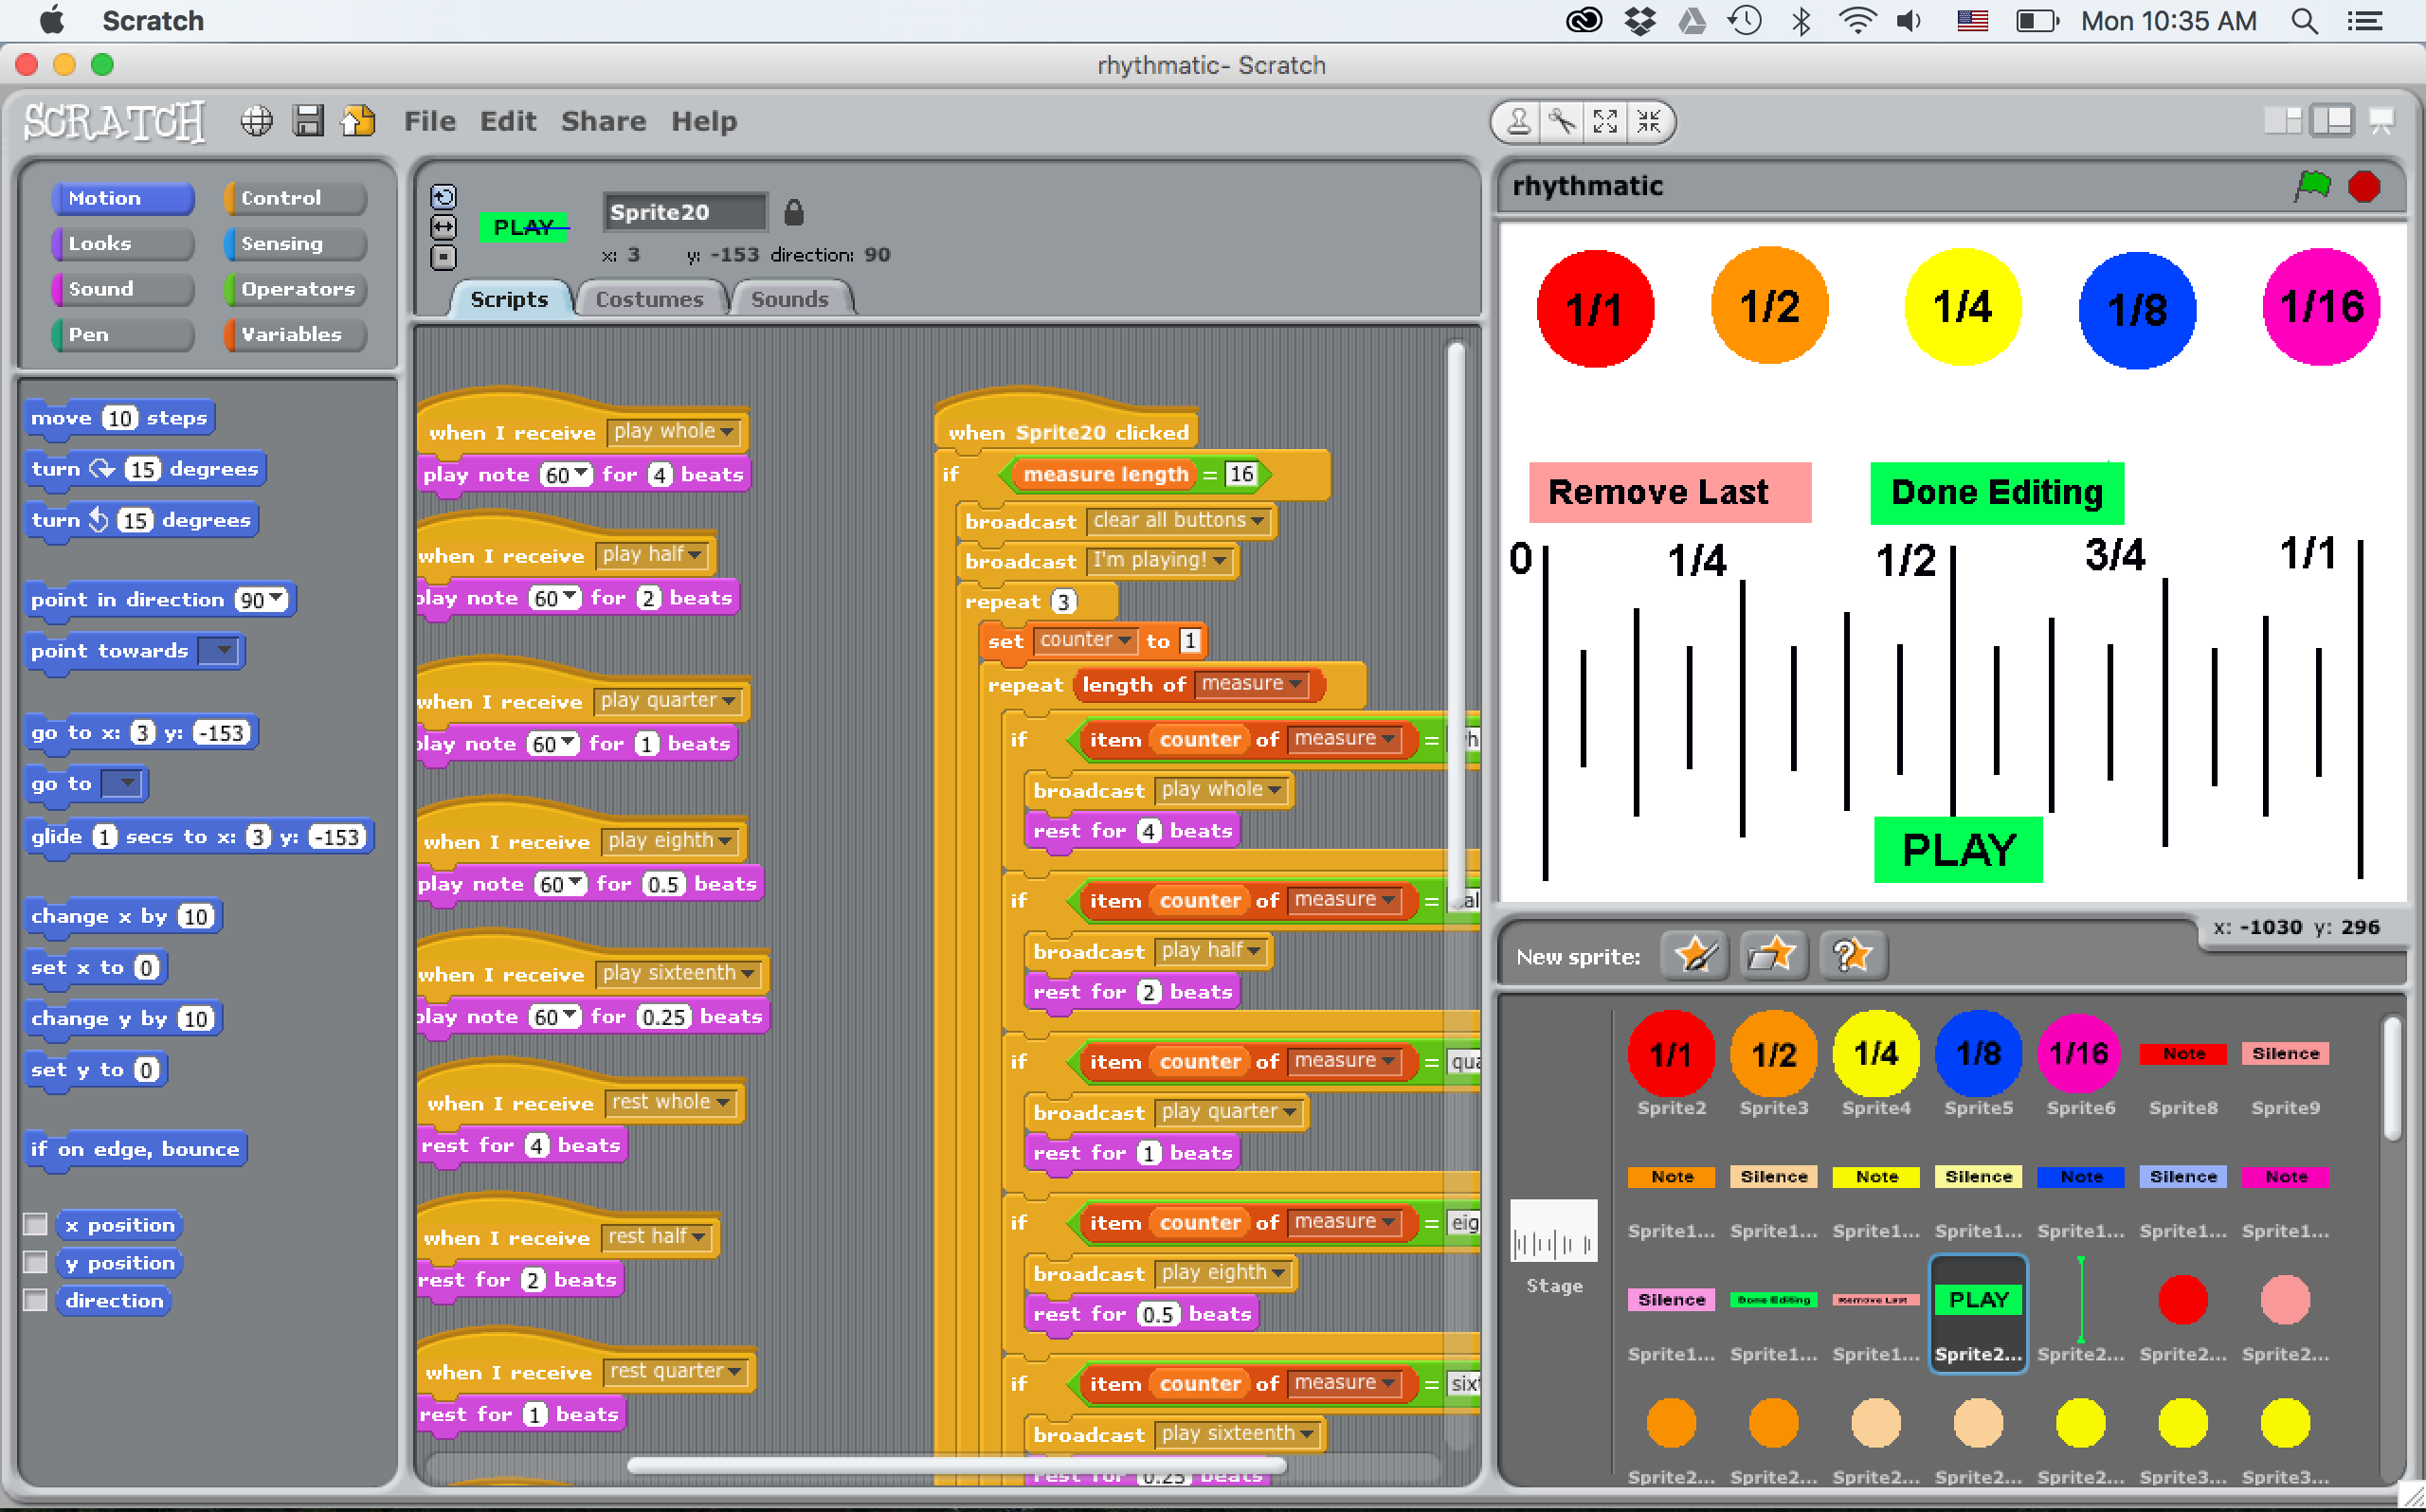
SCRATCH PROGRAM
The Scratch game can be played or downloaded at: https://scratch.mit.edu/projects/91537259/
How to use the Scratch program to make rhythms and teach fraction addition:
To start or reset the program, click the green flag.
Fill the timeline by adding notes and silent notes.
Add notes by selecting a note type, any of the round, colored buttons with fractions on them, and clicking on “Note” if the user wants to add a note or “Silence” if the user wants to add a ‘silent’ note (rest) of the same length.
Remove notes, if necessary, by clicking on “Remove Last.”
When the timeline (measure) is completely full, click “PLAY” to hear your rhythm. If it’s not full, or a note is too big to fit, Scratchy the cat will tell the user that there aren’t enough notes or a note is too big and then remove the note that doesn’t fit.
The rhythm will play twice in a row using piano sounds.
Easy Modifications
Simple things can be changed if users prefer different sounds or symbols. Download the program, open it in Scratch and follow the directions below.
Changing Sounds:
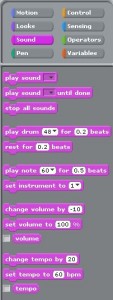
Sound blocks
The sounds of each type of note (quarter, half, etc) can be changed. Different piano tones can be used, or instead of piano tones, drum beats can be played.
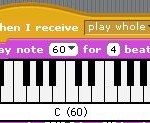
Dropdown clicked; click piano keys to change tone.
With the Scratch program open, click on the PLAY sprite. ![]() Click on the purple Sound tab to see the code options. The piano tone can be changed by clicking on the dropdown and selecting the desired tone. The block can be replaced with the drum beat block shown; the particular sound can also be changed by clicking on the dropdown and selecting the desired sound.
Click on the purple Sound tab to see the code options. The piano tone can be changed by clicking on the dropdown and selecting the desired tone. The block can be replaced with the drum beat block shown; the particular sound can also be changed by clicking on the dropdown and selecting the desired sound.
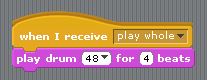
Sound changed to a drum beat.
Changing symbols:

Costume editing
Any symbol, including the notes, can be changed.
With the Scratch program open, click on the sprite that will be changed. Next, click on the Costumes tab. The Edit button allows for the sprite to be edited as in Microsoft Paint; other images can be imported as well.
Future Improvements
This program is a first prototype and could use some improvement. Certain actions, particularly if buttons are pressed quickly in succession without letting the program process information, cause problems to arise. More work needs to be done in debugging the program such that these problems can be eliminated. The aesthetics of the game, as a whole, may also be improved such that school-age children find it more appealing.
Extra steps can be taken to give students an extra level of difficulty. This can be done by adding smaller fractions (1/32). For more musically inclined students, especially those who are learning how to read sheet music, each note sprite can be given a second costume that is accurate in terms of musical notation. For example, below is an eighth note and eighth rest, according to music notation:
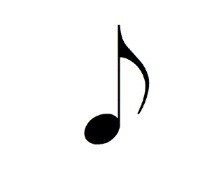
Eighth Note

Eighth Rest