Phase 1: Small setup
Dec 4th, 2014 by bustaa2
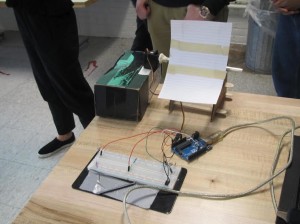
Phase 1: Prototype Heliostat
In order to prove that an Arduino could be used to track the sun, this small model was produced. The design for the small model consists of 3 components.
Hardware
- 2 Photo resistors were used to measure light intensity on each side of the reflector.
- As light intensity goes up, resistance goes down
- The Arduino will return a value from 0-1023 – 1023 being the darkest and 0 being the brightest.
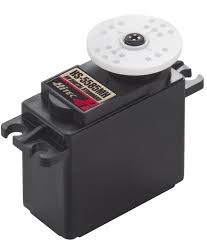
- A Servo motor was used to turn the reflector
- Servo motors can be set to a specified position in degrees.
- In order to run the software, the “servo.h” file must be downloaded
- Servo motors can run directly off of the Arduino’s power
- Once the servo is on, it will continue to draw power even if it is not moving.
-
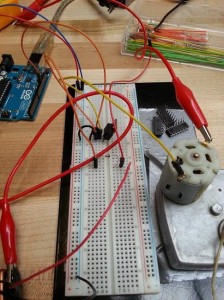
Phase 1: Transistor Switch
Phase 1: Servo Motor
Phase 1: 9 V Battery
- Software
- What it does:
- Measures the values from the photo resistors to determine which side is under more light.
- Increases or decreases the variable that gives the servo’s position in degrees.
- Sets the servo to that position.
- Records the sensor readings as well as the servo’s position.
- What it does:
- Helpful tips
- Remember that servos work by putting in an angle and then setting the servo to that angle.
- In order to get information about what the Arduio is doing, add in a print statement “Serial.print(Your_variable_here)” in the code.
- Press ctr+shift+m to open serial communication
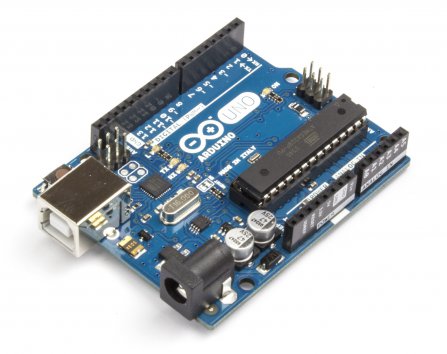
All code is compiled on Arduino Controller
In order to run a test over the course of a day, two changes had to be made. First, the Arduino had to be switched to battery power so that it can run without the laptop. Secondly, we had it save its sensor data as well as its position to an SD card so that we can track what it did over the course of the day.
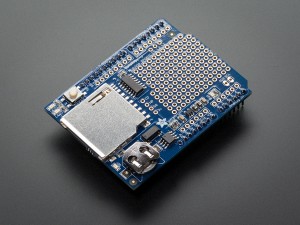
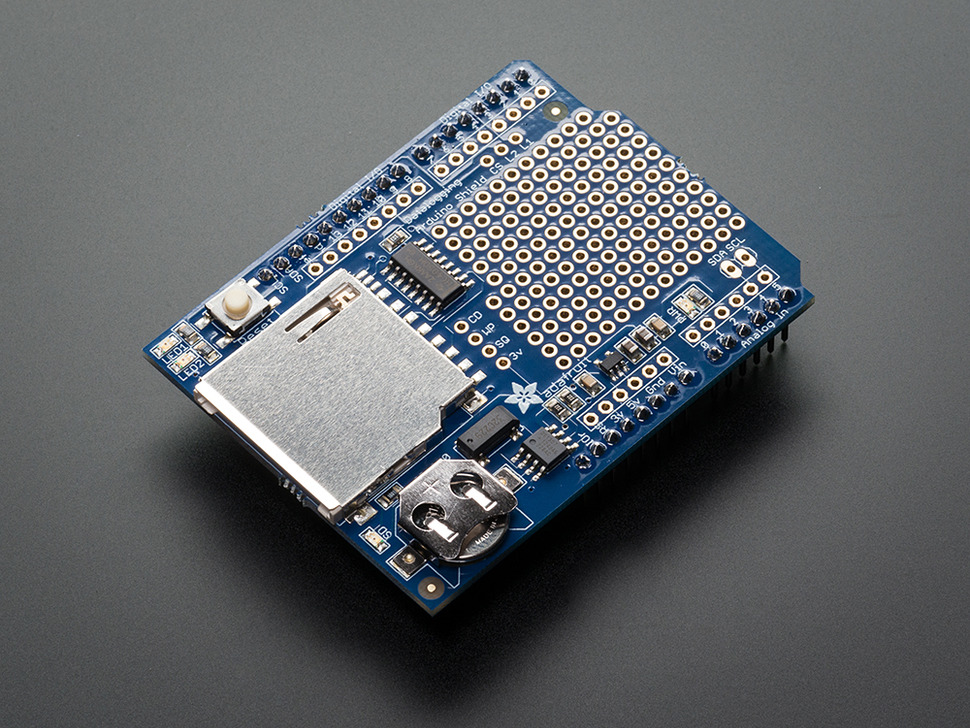
- SD card reader
- In order for the Arduino save data to an SD card, it is necessary to attach an SD card reader.
- The SD card reader can be mounted directly onto the Arduino by lining up the pins. You can then connect everything to the pins on the SD card reader as if they were the Arduino itself.
- In order to save to the SD card, you must download the SD.h library.
- https://learn.adafruit.com/adafruit-ultimate-gps-logger-shield/sd-logging
- Just be aware that, due to the program, the SD card reader will be internally using pin 10. Do not connect anything to this pin.
- The program is written such that it will not run unless an SD card is in the slot.
- The program is written such that it will create a txt file called “DATALOG” on the SD card.
- It will only create one file (since it cannot make two files with the same name) and will overwrite the previous one.
- REMEMBER THAT THE ARDUINO WILL CREATE A NEW FILE EACH TIME YOU TURN IT ON.
-
Arduino SD Card Shield
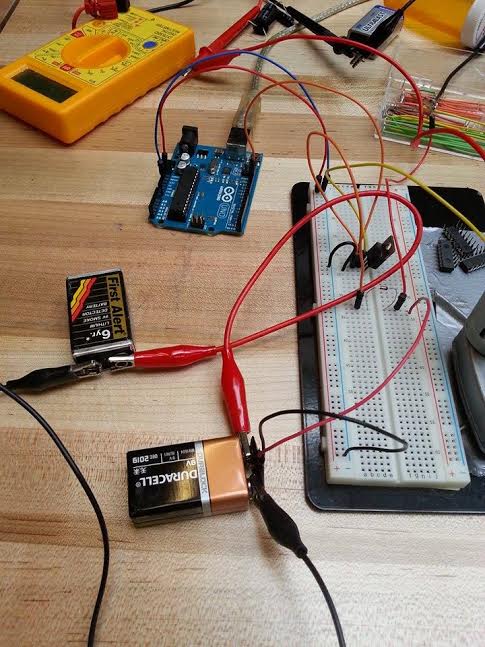
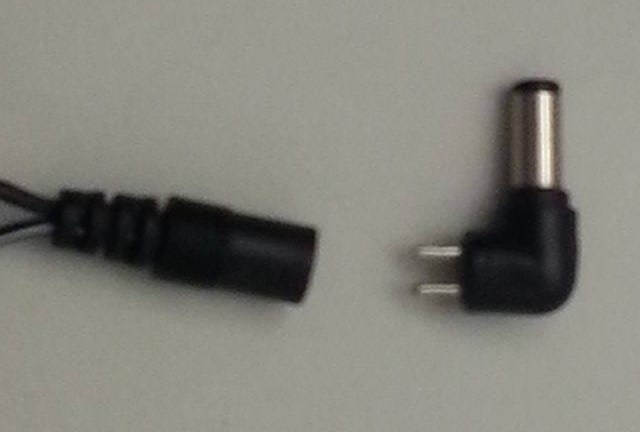
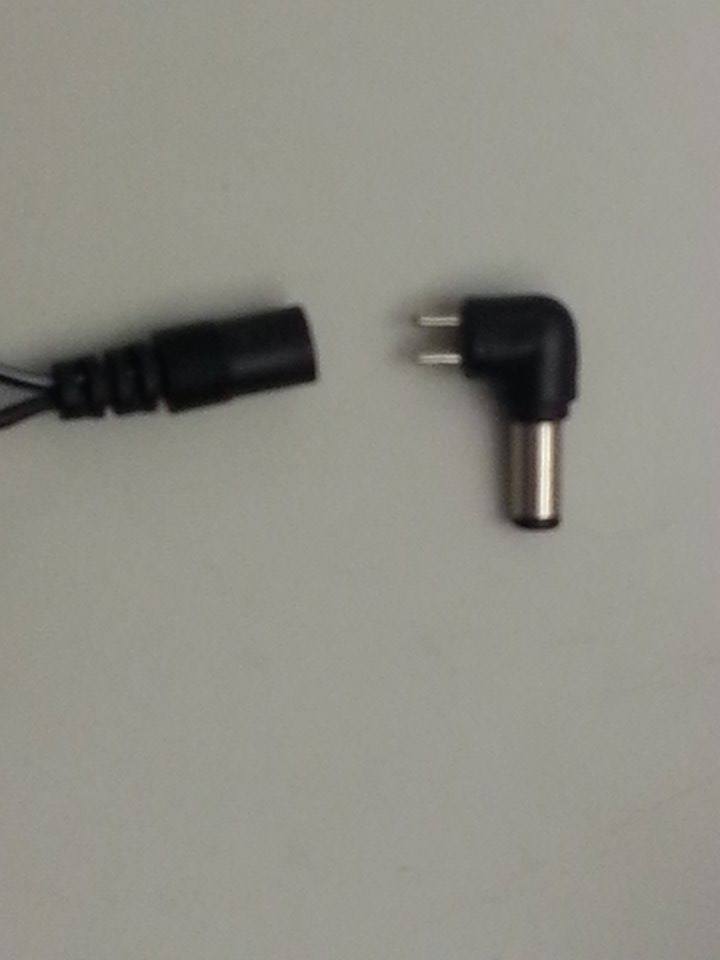
- External power source – In order to run the Arduino off of an external power source, you must use an adapter.
- Connect the wires to your battery and the adapter’s jack to the Arduino.
- Notice that the head of the adapter is removable – it can fit in both forwards and backwards.
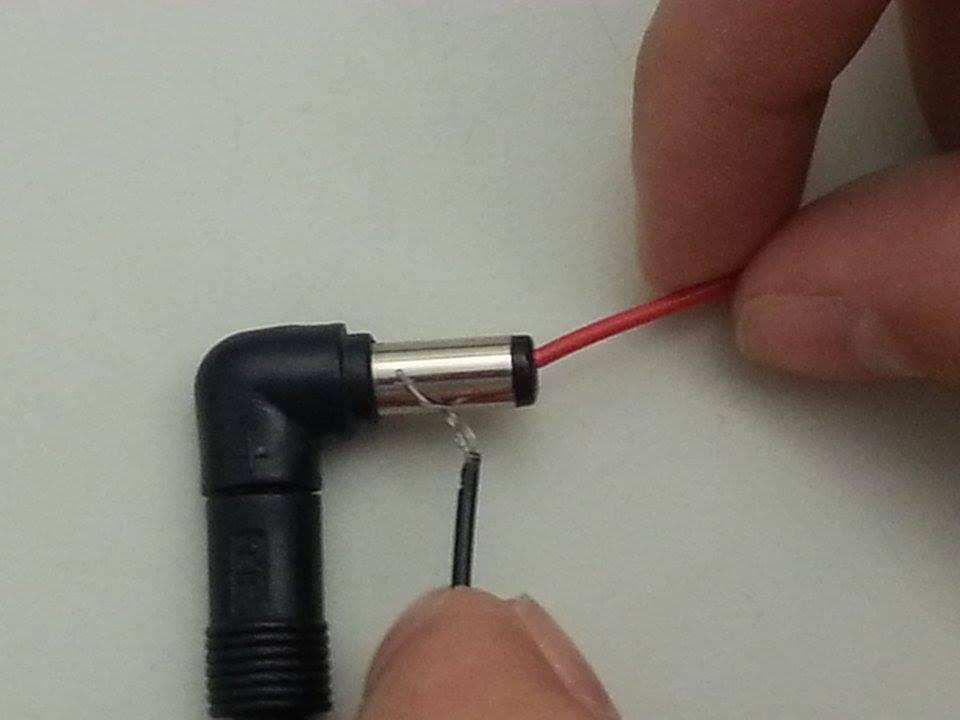
- IMPORTANT: Before plugging into the Arduino, make sure you check to make sure you have the right polarity.
- The adapter has one pole on the outside and one on the inside.
- THE INSIDE OF THE ADAPTER SHOULD BE POSITIVE.
- With a battery connected to your adapter, attach the multimeter leads to each pole on the adapter jack as shown. Check your battery’s voltage.
- If you connected it properly, you will get a positive voltage reading – if not, the reading will be negative.
- Power draw
- The Arduino will draw about 170 mA of current while running a servo motor. Make sure your power supply can provide much more than this.
- A standard 9V battery can only supply about 150mA and will not run the setup.
- We tried to connect two 9V batteries in parallel to increase current draw, however, if the current spikes above 300mA, then the Arduino will shut off. This is not ideal for long-term testing.
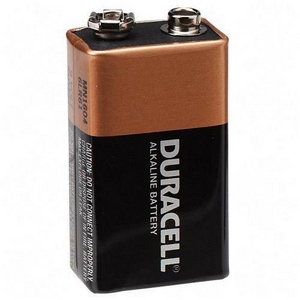
9-Volt Battery
-
-
-
- A 12 V drill was purchased for 20 dollars. This provided components including a battery and a DC motor. The 12 V will supply more than enough amperage to run the setup.
- http://www.walmart.com/ip/Ultra-Steel-12V-Cordless-Drill-Driver/24548905
- The Arduino has an internal voltage regulator designed to operate at an ideal 9-12V. It can handle up to 20V before blowing up.
-
-
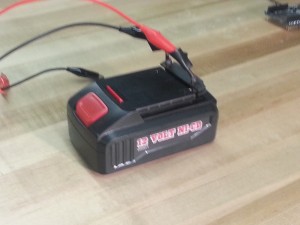
Drill battery
-
- Power consumption
- For the long-term test, some code was added that will turn off the servo when the heliostat is not making adjustments.
- Power consumption
- Test
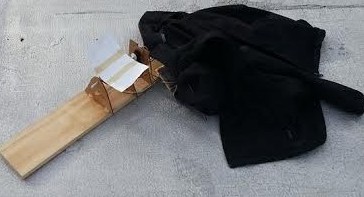
- We ran 3 tests of our small heliostat outside. The goal of this test was to make sure that the device was able to track the sun throughout the course of the day.
- Things to keep in mind.
- Public Safety does not like it when students run tests on the roof.
- The flower garden by the Union is a good place to test
- Ask someone in the office
- If it rains, it could damage the Arduino. We placed a jacket over ours just in case.
- Battery died after about 2 hours.
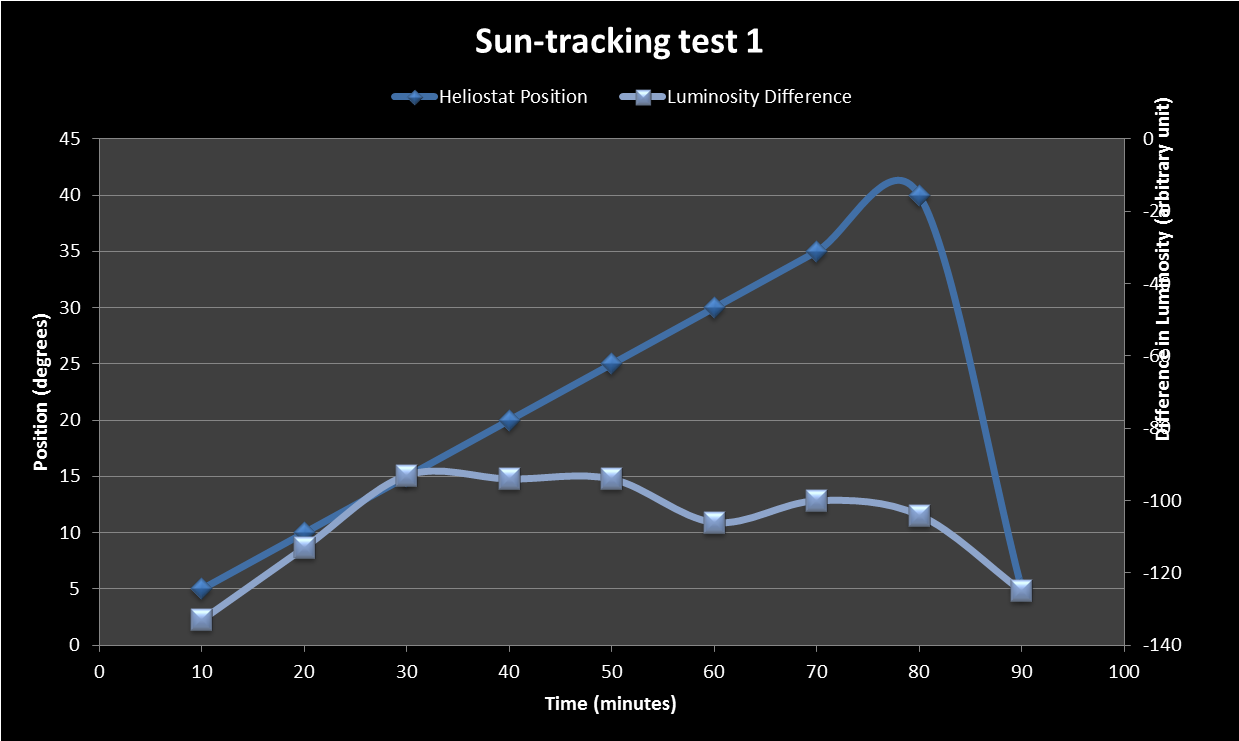
Data Collected
- We collected and graphed the data from our tests below. The graphs show a tracking of heliostat position and luminosity difference between photo resistors vs time. The first two tests were performed with 9 V batteries. Each one showed proper tracking for about 1.5 hours, but then saw a system reset. This caused the program to restart and fix the heliostat to its original position. This suggested an inadequate power coming from the 9 V battery so we switched to the 12 V drill battery. In the third test the 12 V so the same phenomenon, but it reset in less time. It is believed that this is an abnormally due to not properly charging the battery prior to the test.
![]()