Field-Testing: User Feedback
Nov 24th, 2014 by ukleja
Our prototypes and devices were field-tested at Troy High School in a freshman level Earth Science class.
Field Visit #1 – 9/18
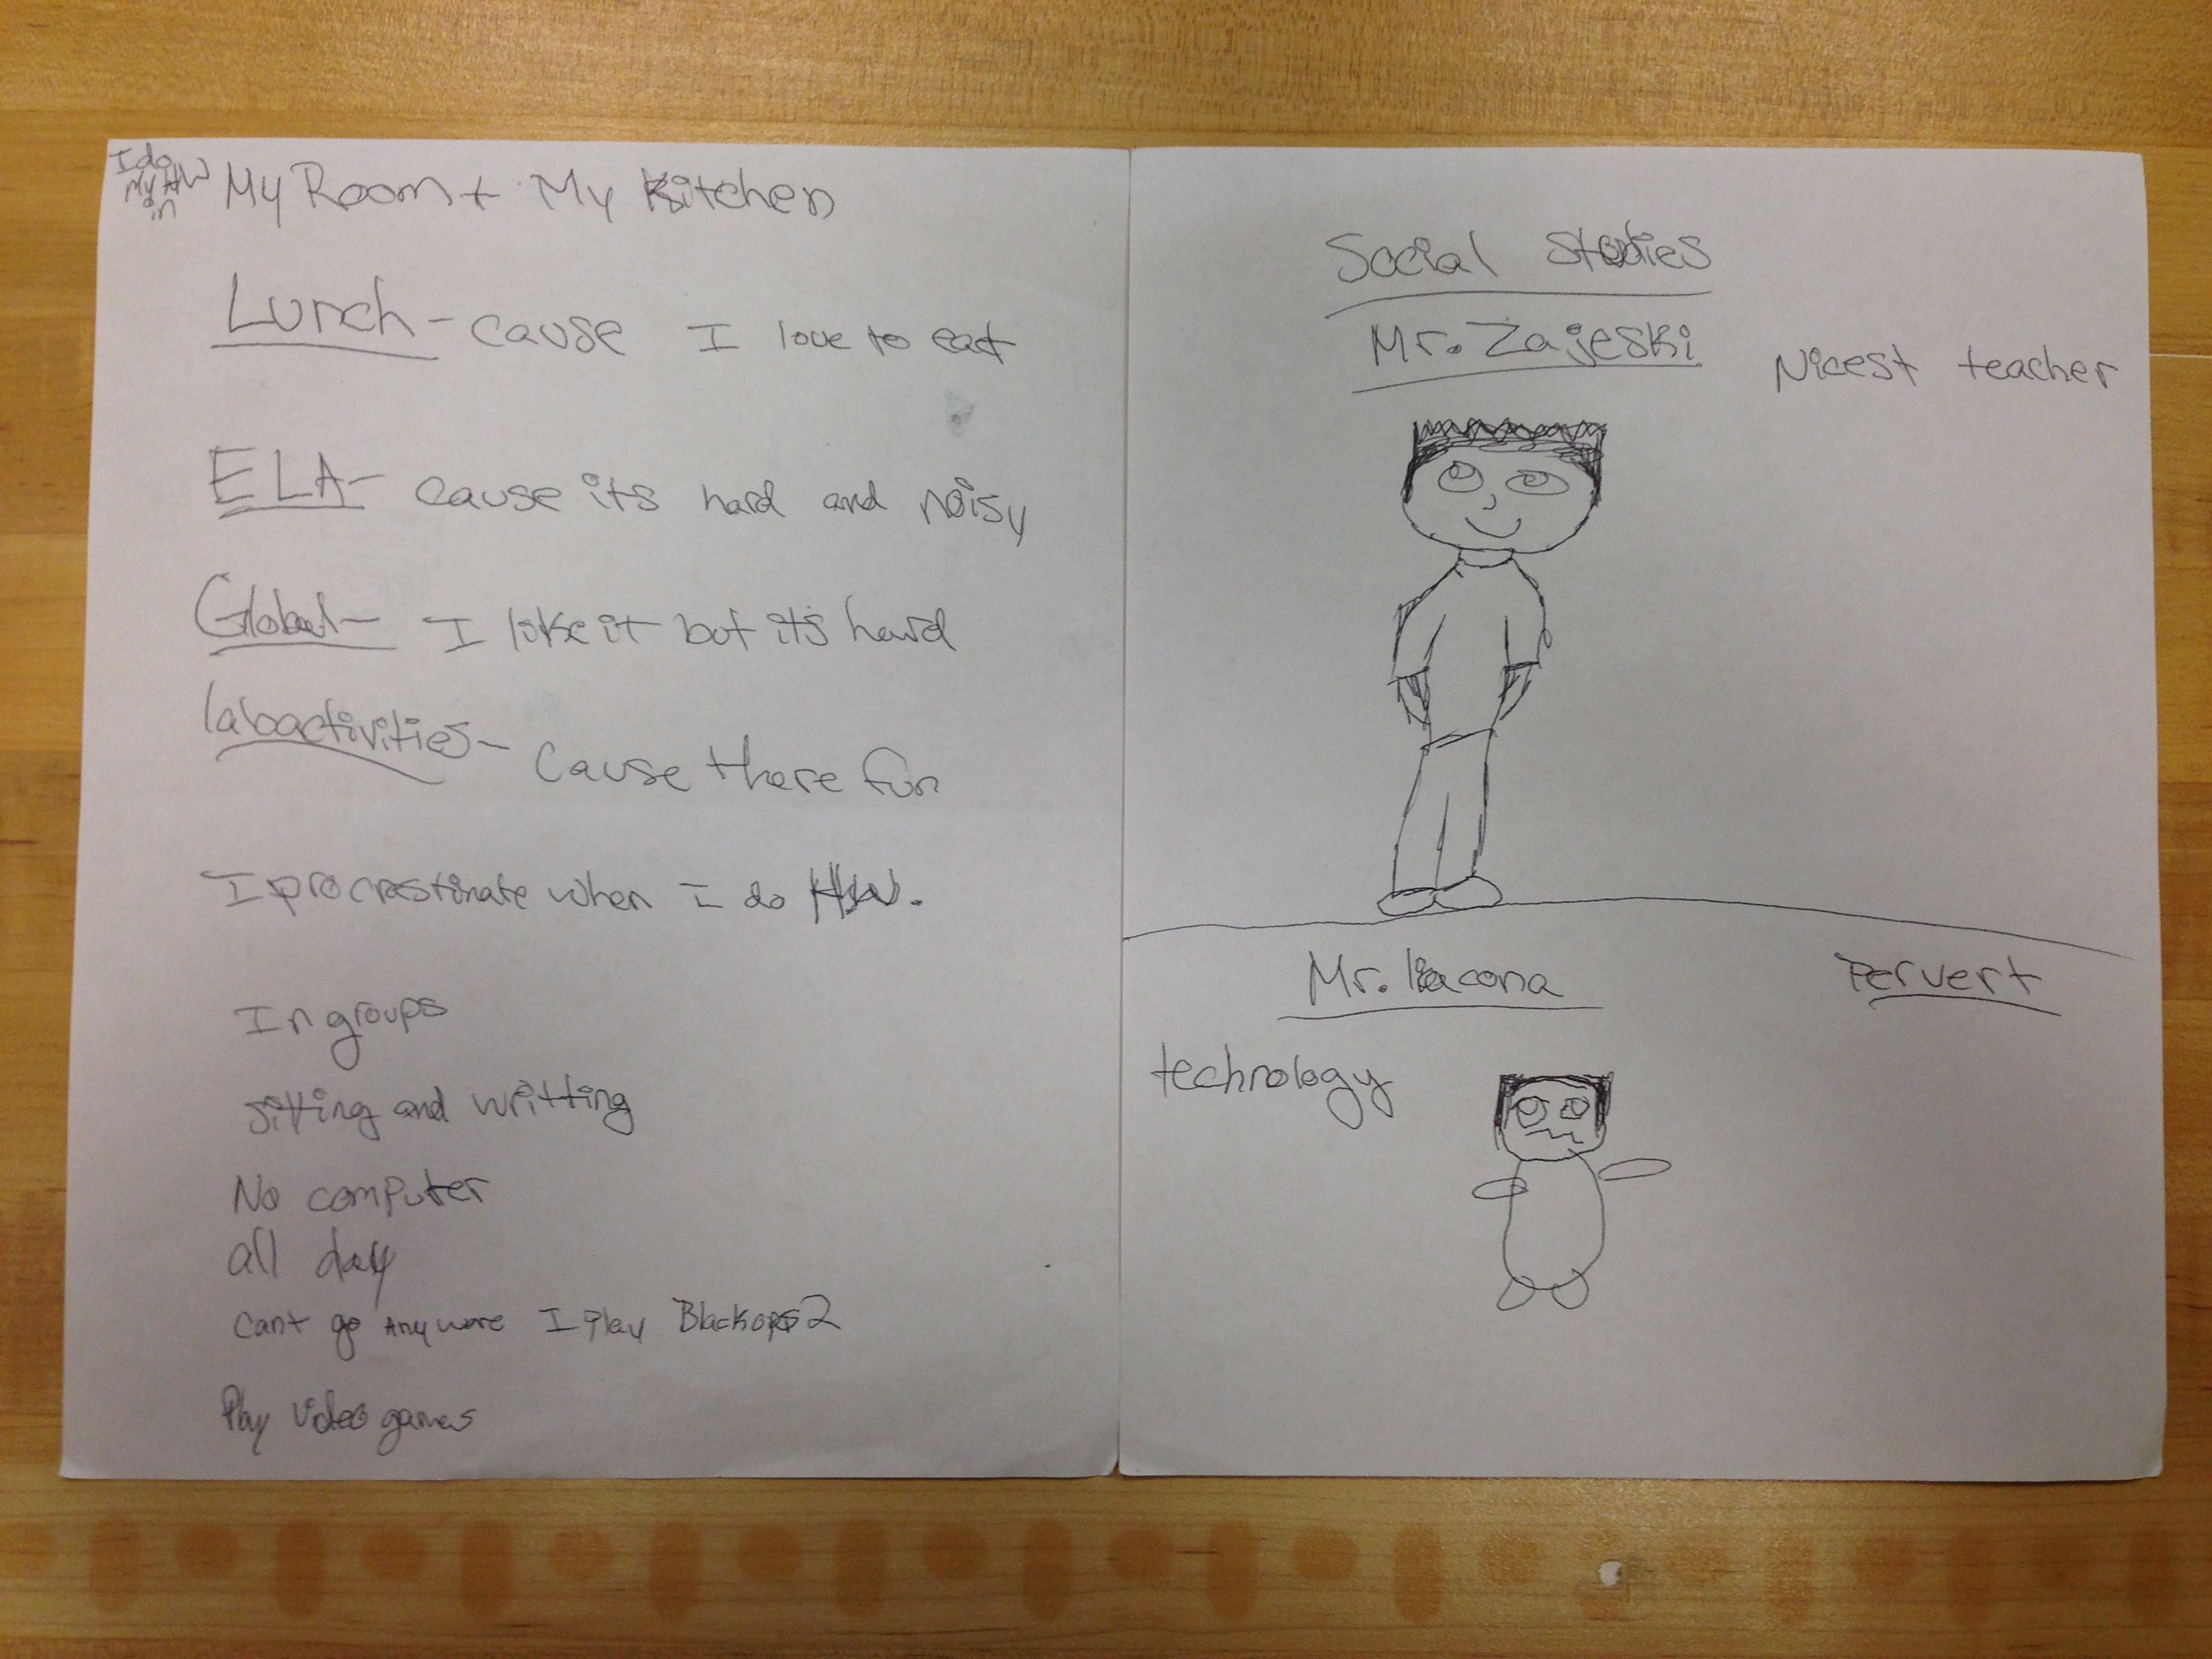
During our first visit we talked with students about various areas of their lives (home, school, extracurriculars, etc.). We used a cognitive mapping technique to help the students open up more and better express themselves. The following list outlines our interview approach, however we asked follow-up questions where the opportunities presented themselves:
Interview Approach:
Have them get into small groups; each person gets a group (5 groups)
- Ask students to draw:
- their house (rooms where they spend the most time)
- school (favorite classroom/period, least favorite classroom/period)
- anywhere else they spend a lot of time
- What feelings/vibes do you associate with each room? Write these feelings on your drawings.
- What activities do you do in each room? For example, math, read, etc. Write the activity in the room.
- What is your favorite and least favorite subject? Why?
- What subject do you find the most difficult? (may be different from least favorite)
- How do you like to learn? (Labs/doing things; teacher just lecturing; powerpoint; video?)
- Where do you do your homework?
- How do you do your HW? Do you sit at a desk and plow through it? listen to music? watch tv? etc
- Do you do your homework by yourself or in groups?
- Why?
- What do you use to do HW? (laptop all the time; prefer handwriting; abacus?)
- Why? (required by teacher, personal preference)
- How long do you spend on your homework each night?
- Where do you hang out after school? (extracurriculars, sports, home)
- Draw your favorite teacher teaching class. What class do they teach? (draw each of your teachers teaching)?
Here are some examples of what the students wrote/drew:

Field Visit #2 – 10/9
Makey-Makey, card game
During our second visit we had the students split into two groups to test our response devices.
Controlling Patatap with Makey-Makey
We used Makey-Makey’s simple interface to control the sounds and display on patatap.com. We arrived with a touch pad drawn with pencil graphite that would correspond to six keyboard controls: w, a, s, d, and space bar. We started with a simple explanation of how the makey-makey worked via completion of a circuit and informed them that it would work with anything that conducts electricity. From here we opened up the opportunity to grab objects around the classroom to test and see if they would be compatible to the completion of the circuit. If the object was compatible, the key controls would trigger a response from the patatap website.
Students were a little timid with involving themselves with choosing what objects to test, so we took initiative to keep things moving forward. First, we started with the seemingly more obvious examples like metal objects, and then eventually moved to more surprising ones. We had students hold hands and then activate the circuit to show that humans too are conductive. To our surprise they were all for it and excited to see that the trigger still worked. Finally we grabbed a plant from the back of the room and connected it to the makey-makey, involving it as the new interface.
The students showed visual signs of excitement about the controller and we gained insight for moving forward with the incorporation of sound in our design.
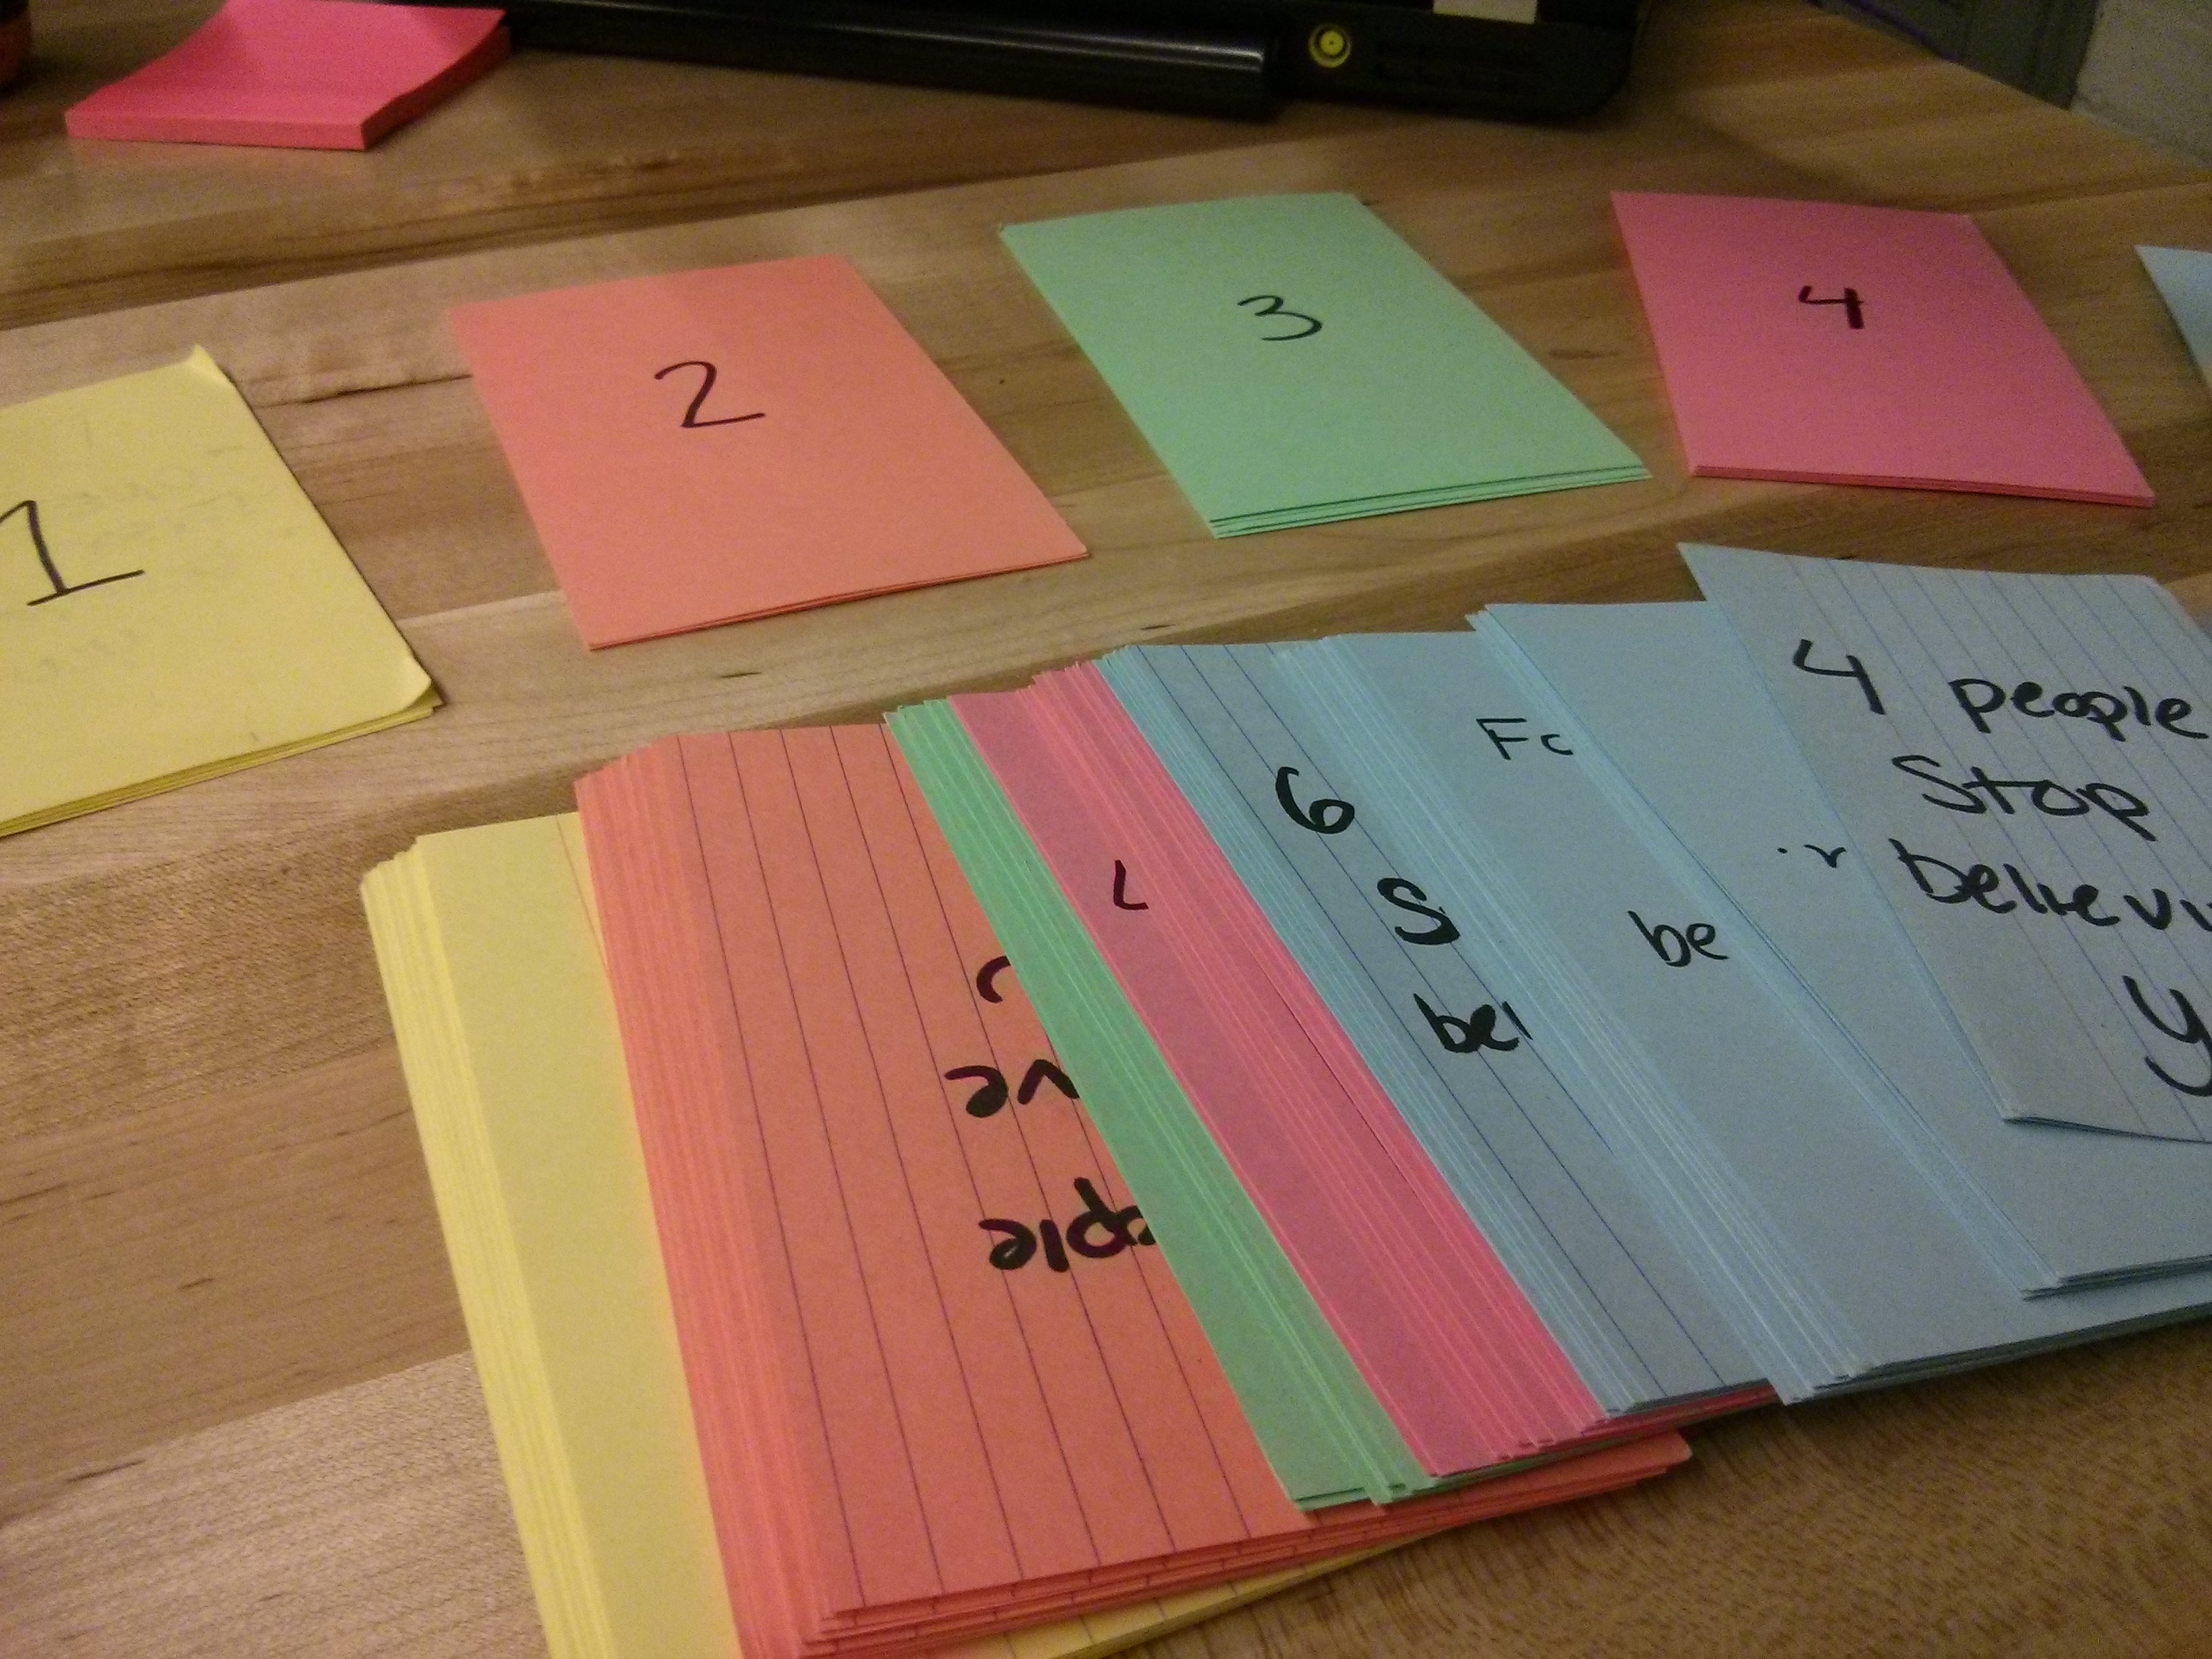
Rumor Card Game
We created a card game for the students to play that simulated how rumors are spread. We played the game with a small group of students. The goal of the game was to see with player could tell the rumor to the most people after a certain amount of turns. The player would roll a dice (we used a dice app on a smartphone) and then pick up the card with that number on it. Each card said how many additional people now believed or stopped believing your rumor. The students mapped out the numbers with dots on a piece of paper.
One of the goals of this game was to see how students reacted to a more simple, classic game rather than something high-tech. While the students played the game, they were very distracted by the dice app and at times were more focused on playing around on the phone than the playing the game. The students were also very eager to switch groups because the Makey-Makey seemed more entertaining and interesting than this card game.
Field Visit #3 – 10/30
For our third visit we brought three new devices with a focus on discussing wave forms. We broke the class up into three groups and had them rotate to different stations about every 15 minutes. Each station had a different testing device representing wave forms. Discussion took place about the devices and how they performed in the small groups.
Large Speaker with Amplifier
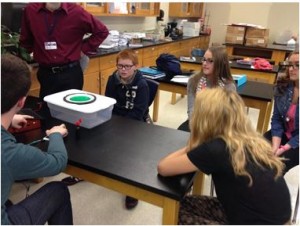
We played various audio files with low frequencies through a 8-inch speaker. Both water and Jello were suspended directly above the speaker to show the translation of audio waves into vibrations. We came to discover that the wiring set up we had configured used the metal phone to ground the overall circuit. Students enjoyed playing with different audio files and gain/bass control to get the water to splash out of the containers. The interaction between audio input and vibration of the jello and water successfully engaged the students.
Smaller Speakers
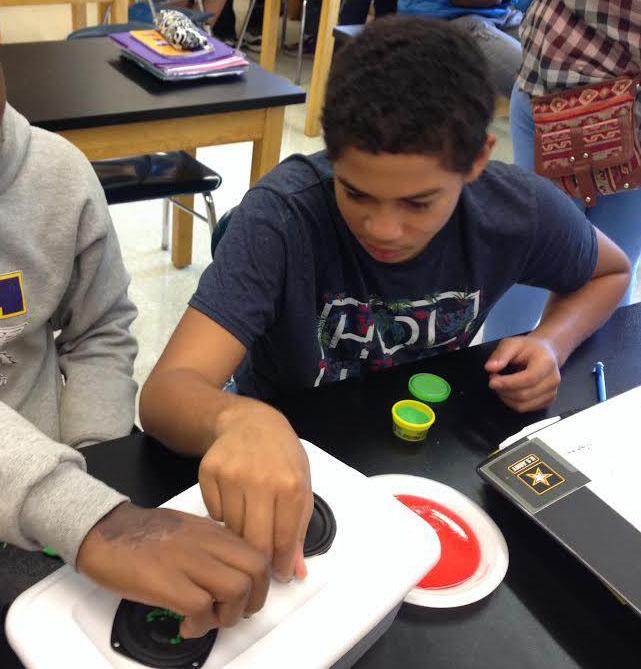
For this device, two small speakers were connected to an Arduino and laptop in order to produce two different tones. The system also had two potentiometers, one for each speaker. The students varied the volume of each speaker by playing with the potentiometers. Their goal was to find the resonant frequency of whatever medium was in the speaker. The first medium was a small cup of water. Later, food die was added to the water to see how the vibrations spread the die. The students eventually decided to make small balls out of Play-Doh and see how the vibrations caused the balls to jump around. They also began to simply turn the potentiometers In order to create different sound combinations, or beats. While the students did not find this device as exciting as the large speaker and amplifier, they enjoyed having control over the system, via the potentiometers, and the audio-visual feedback.
Water Trough and Contact Speaker
It was planned to have a little “race” with the water trough. Students were instructed to take a card and push the water to propagate a wave. We times how long it took the wave to travel the length of the trough and back. Unfortunately the trough was too small for any strong push to really determine how fast the water could be pushed. if pushed too hard, the water would overflow onto the table.
We moved on with discussion about transverse waves, as they were able to see the crest of the wave move back and forth in the trough. We compared this to the propagation of compression waves and had a small discussion.
We then moved on to demonstrate the contact speaker. We hooked up an iPhone to the device and played music while attaching the disc of the speaker to different devices to test amplification of the sound. The results were underwhelming. The sound did not come through as intended and tested, it was too loud in the classroom to really appreciate the speaker. With this, the discussion was brief and relating to the translation of vibration through different mediums.
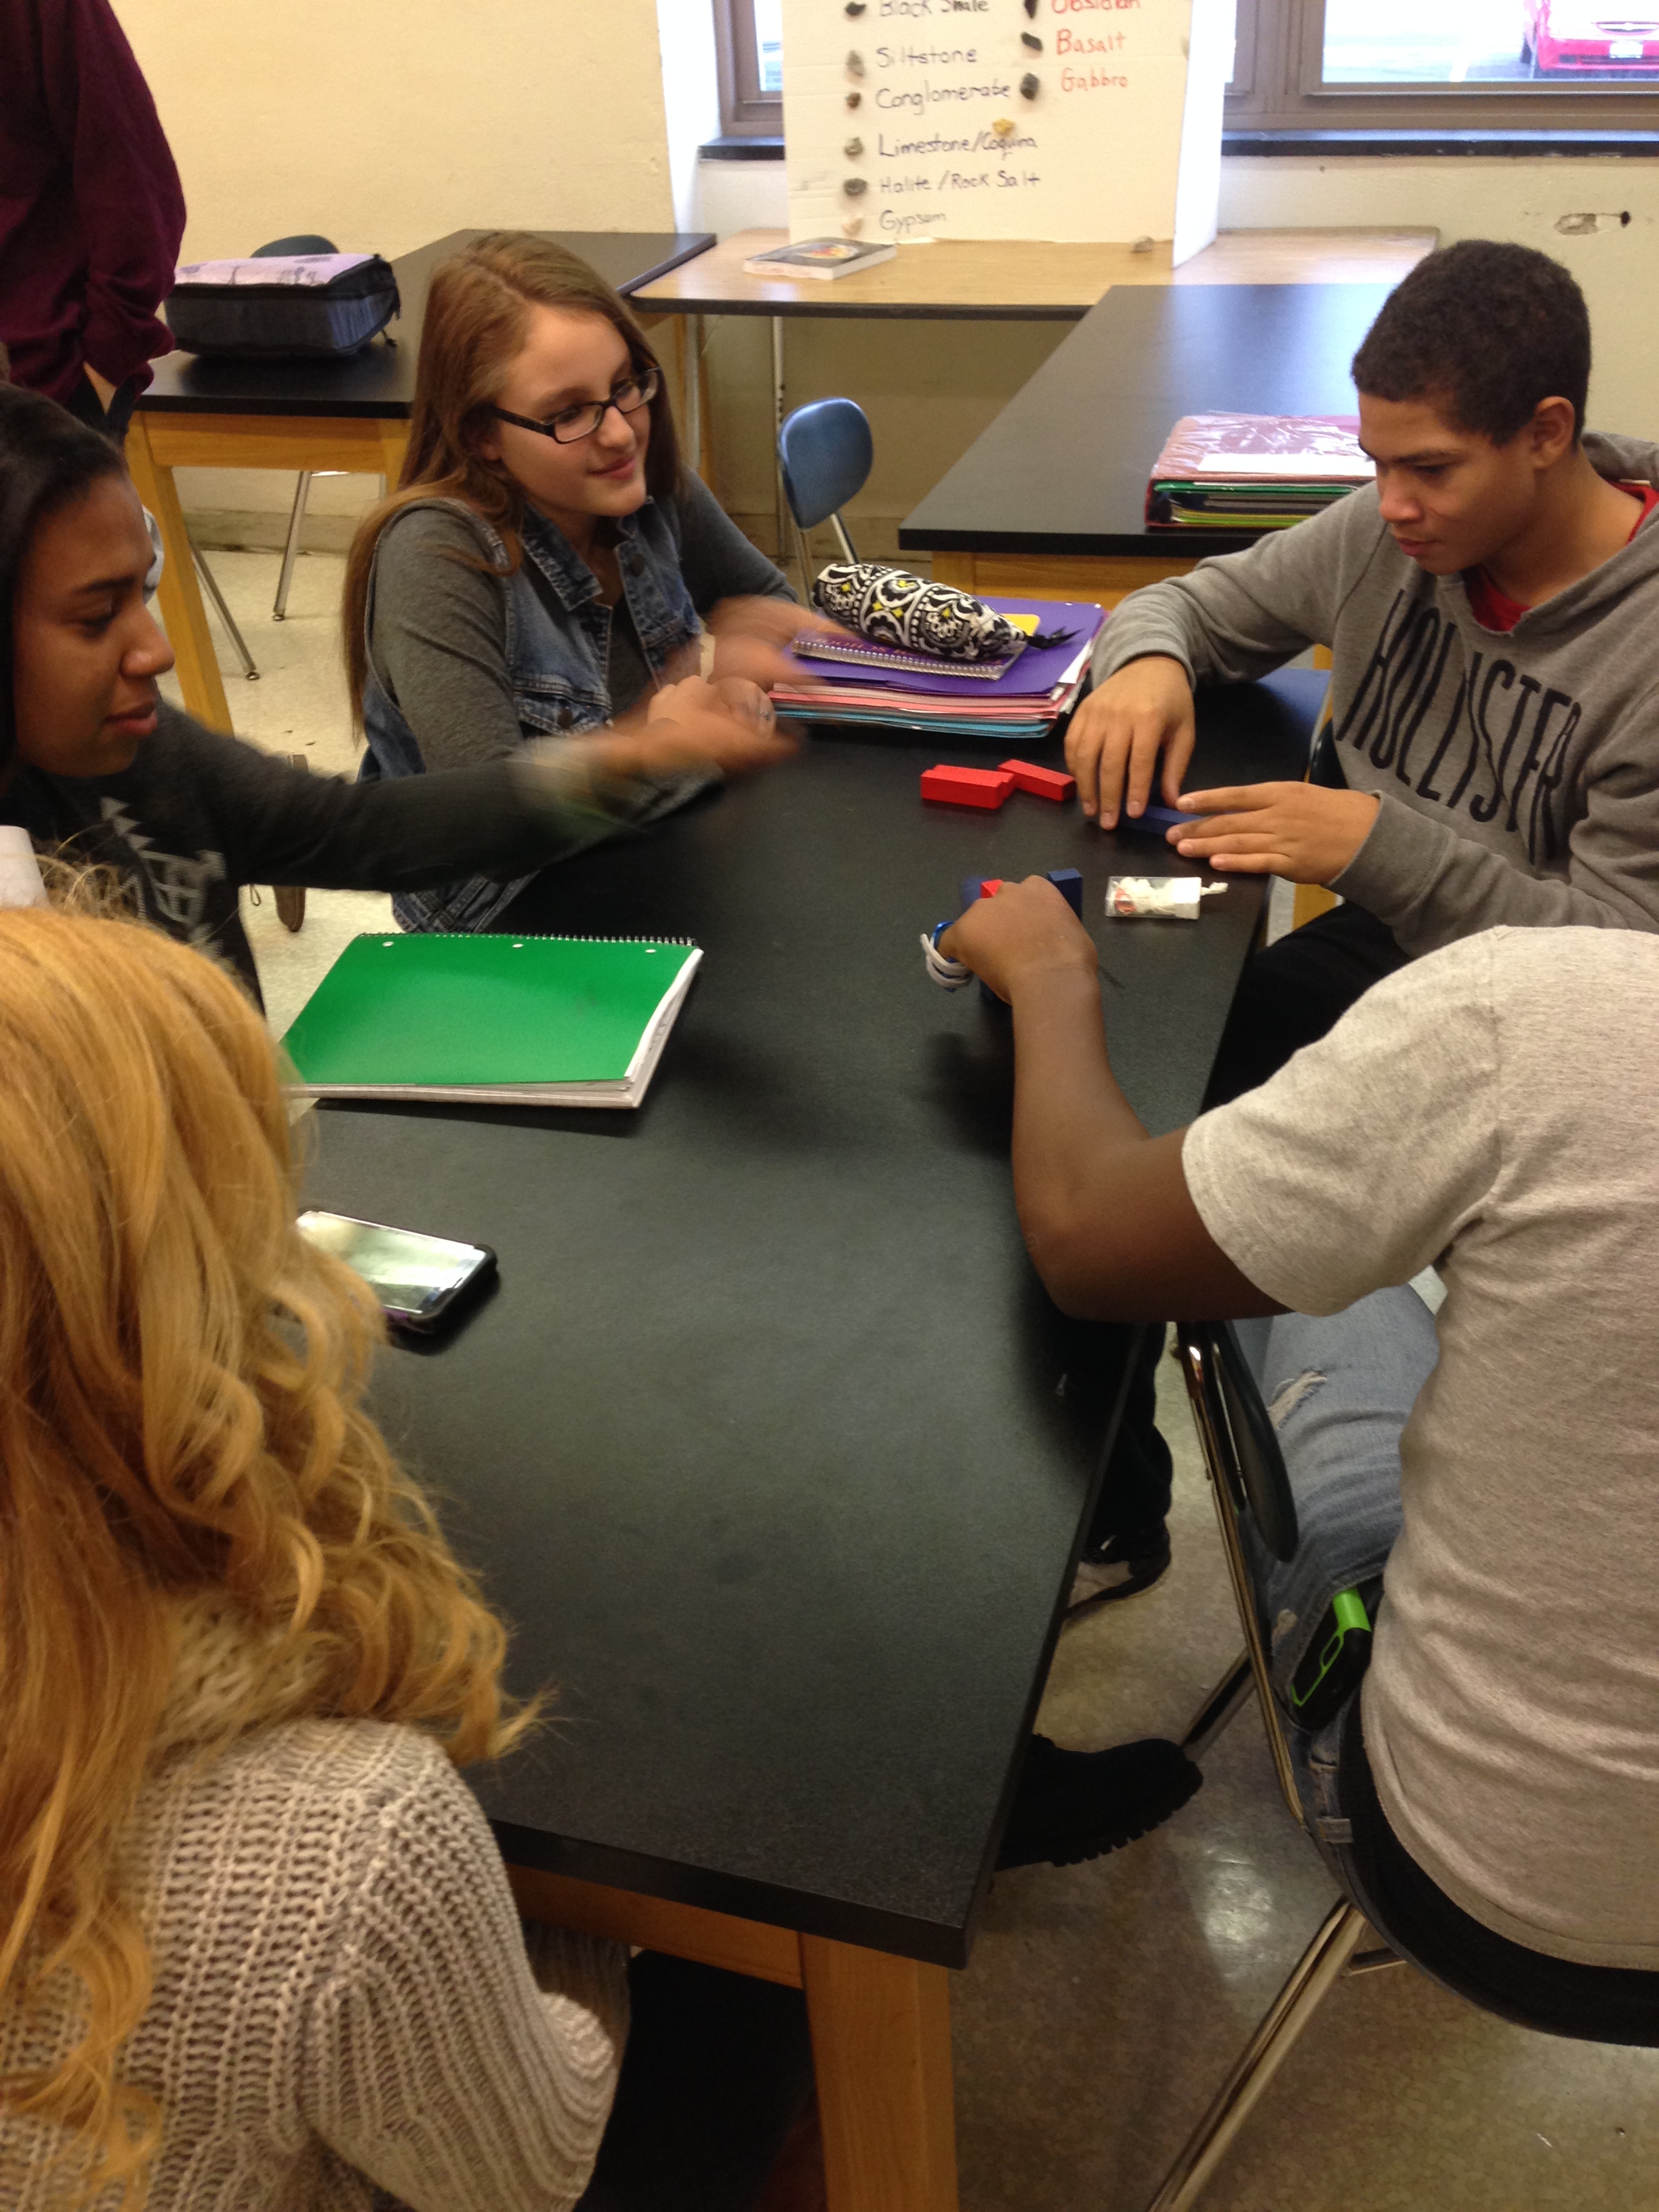
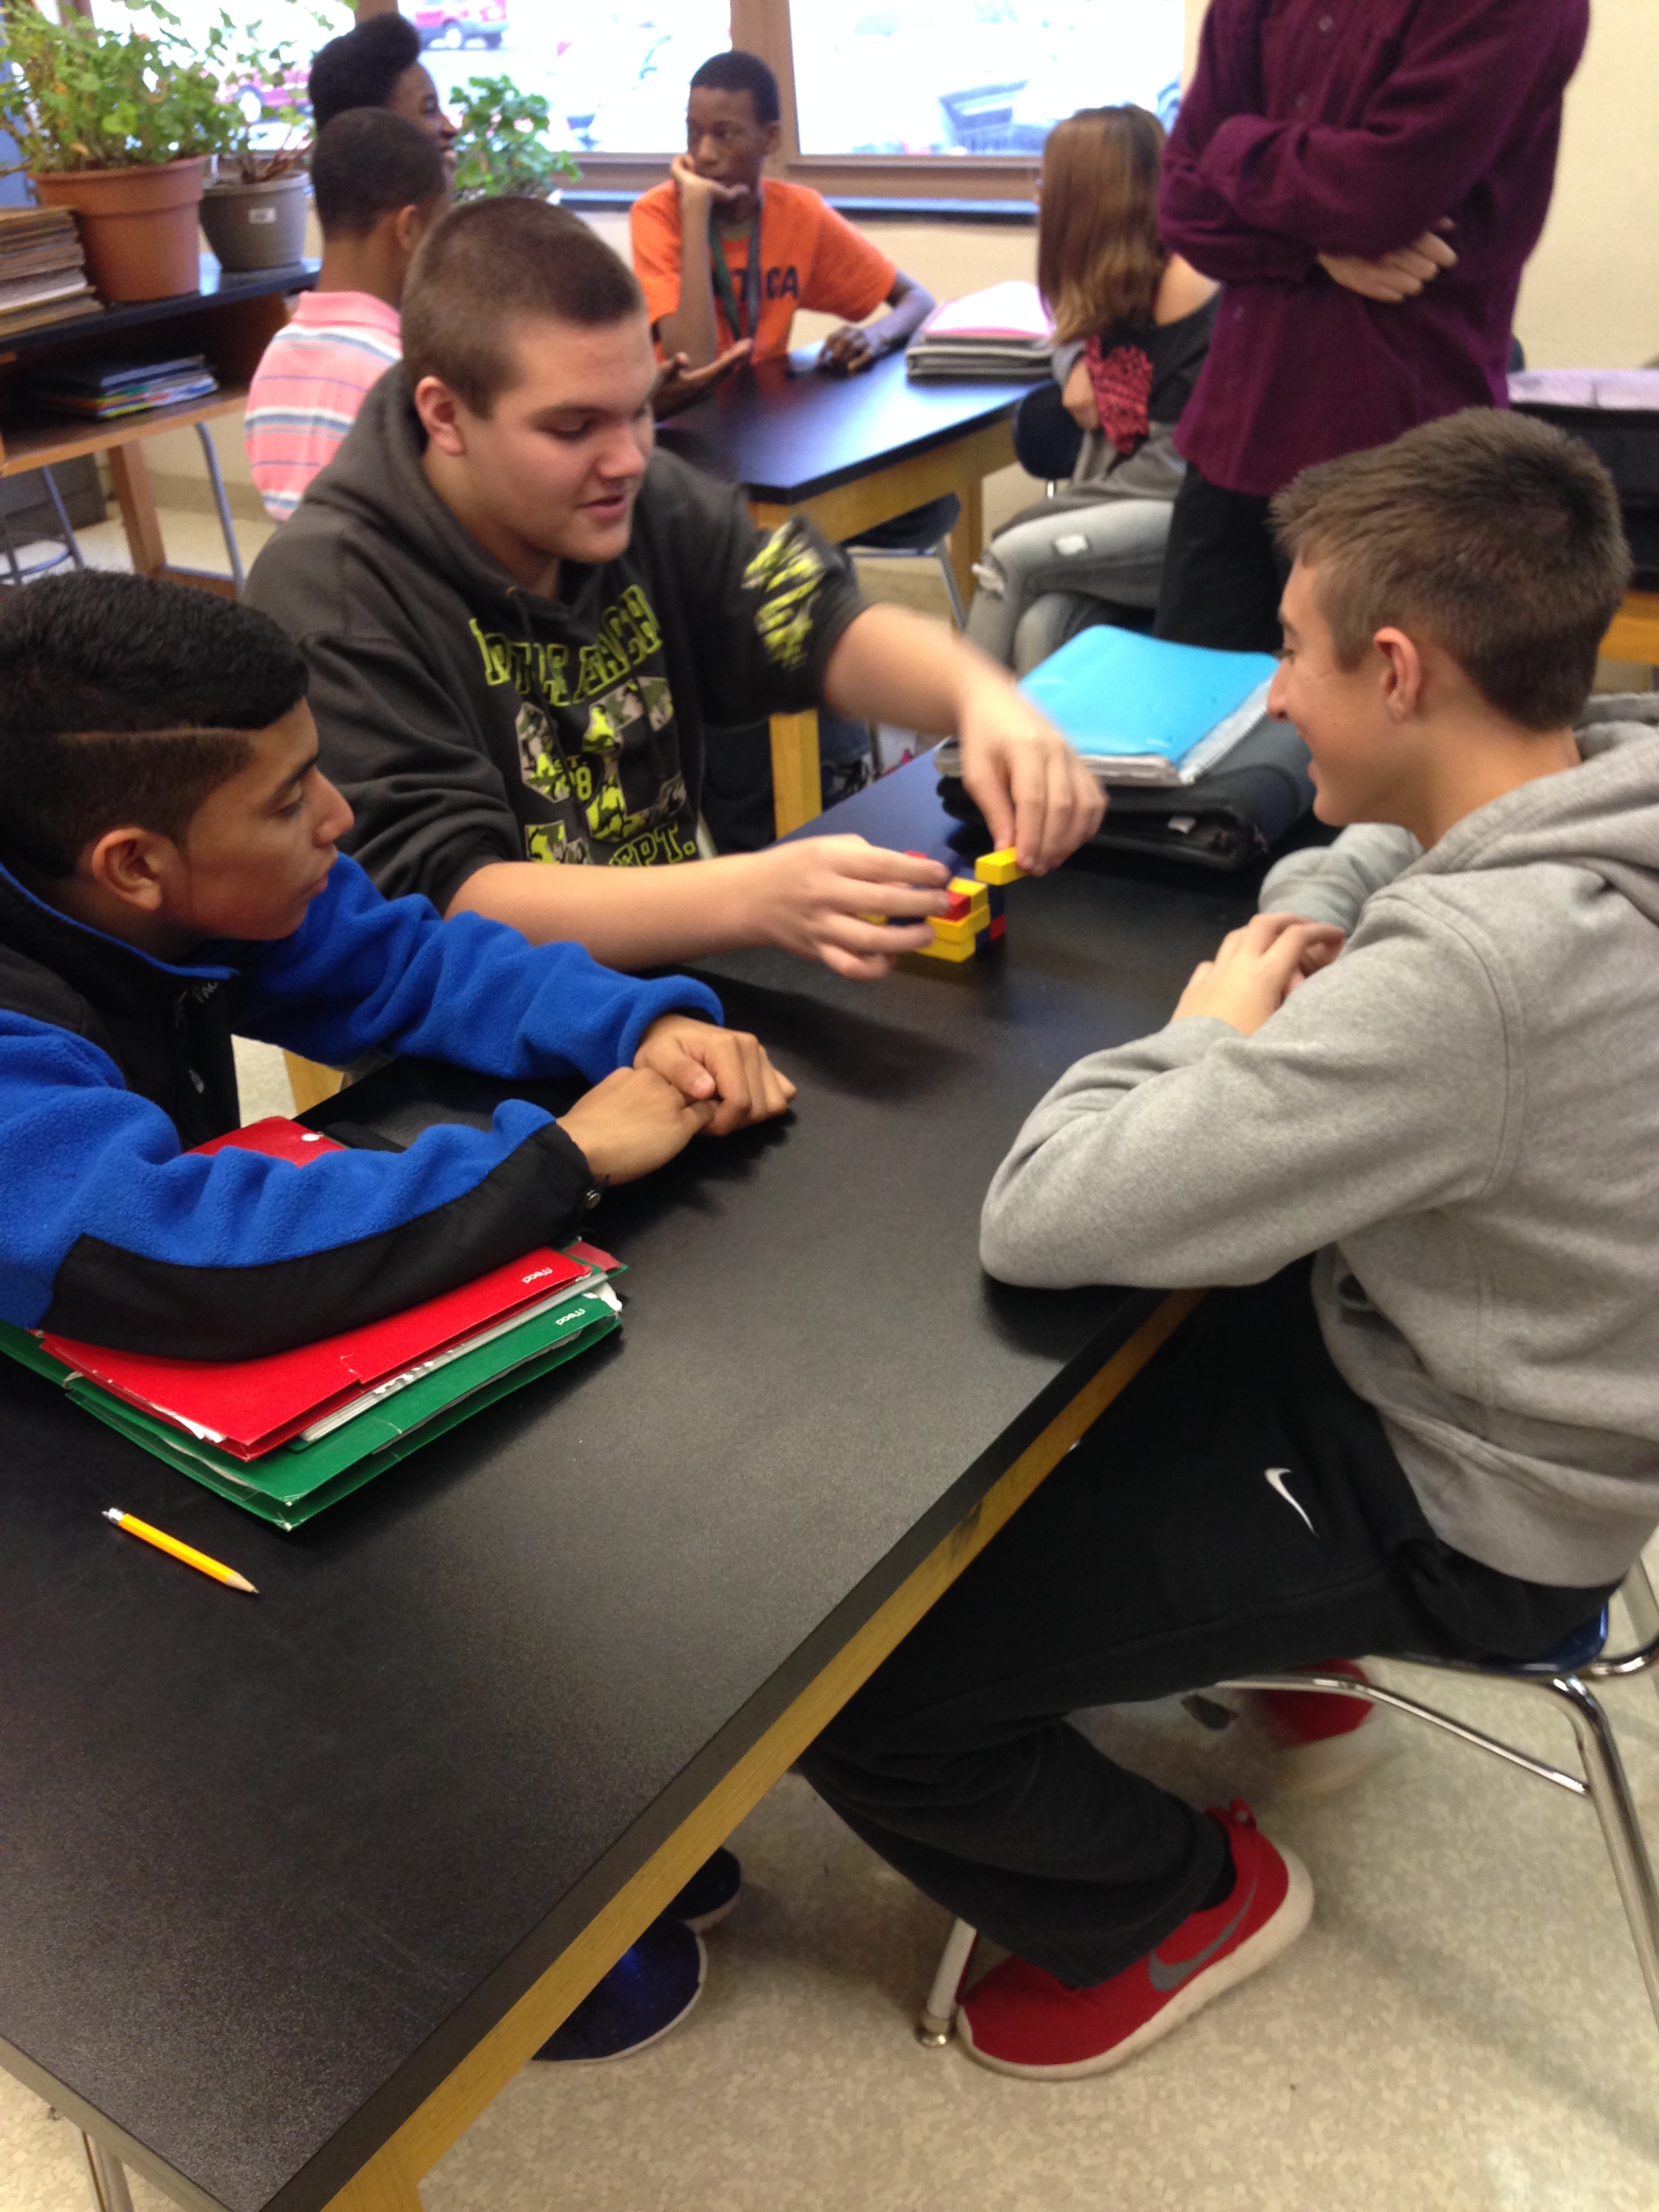
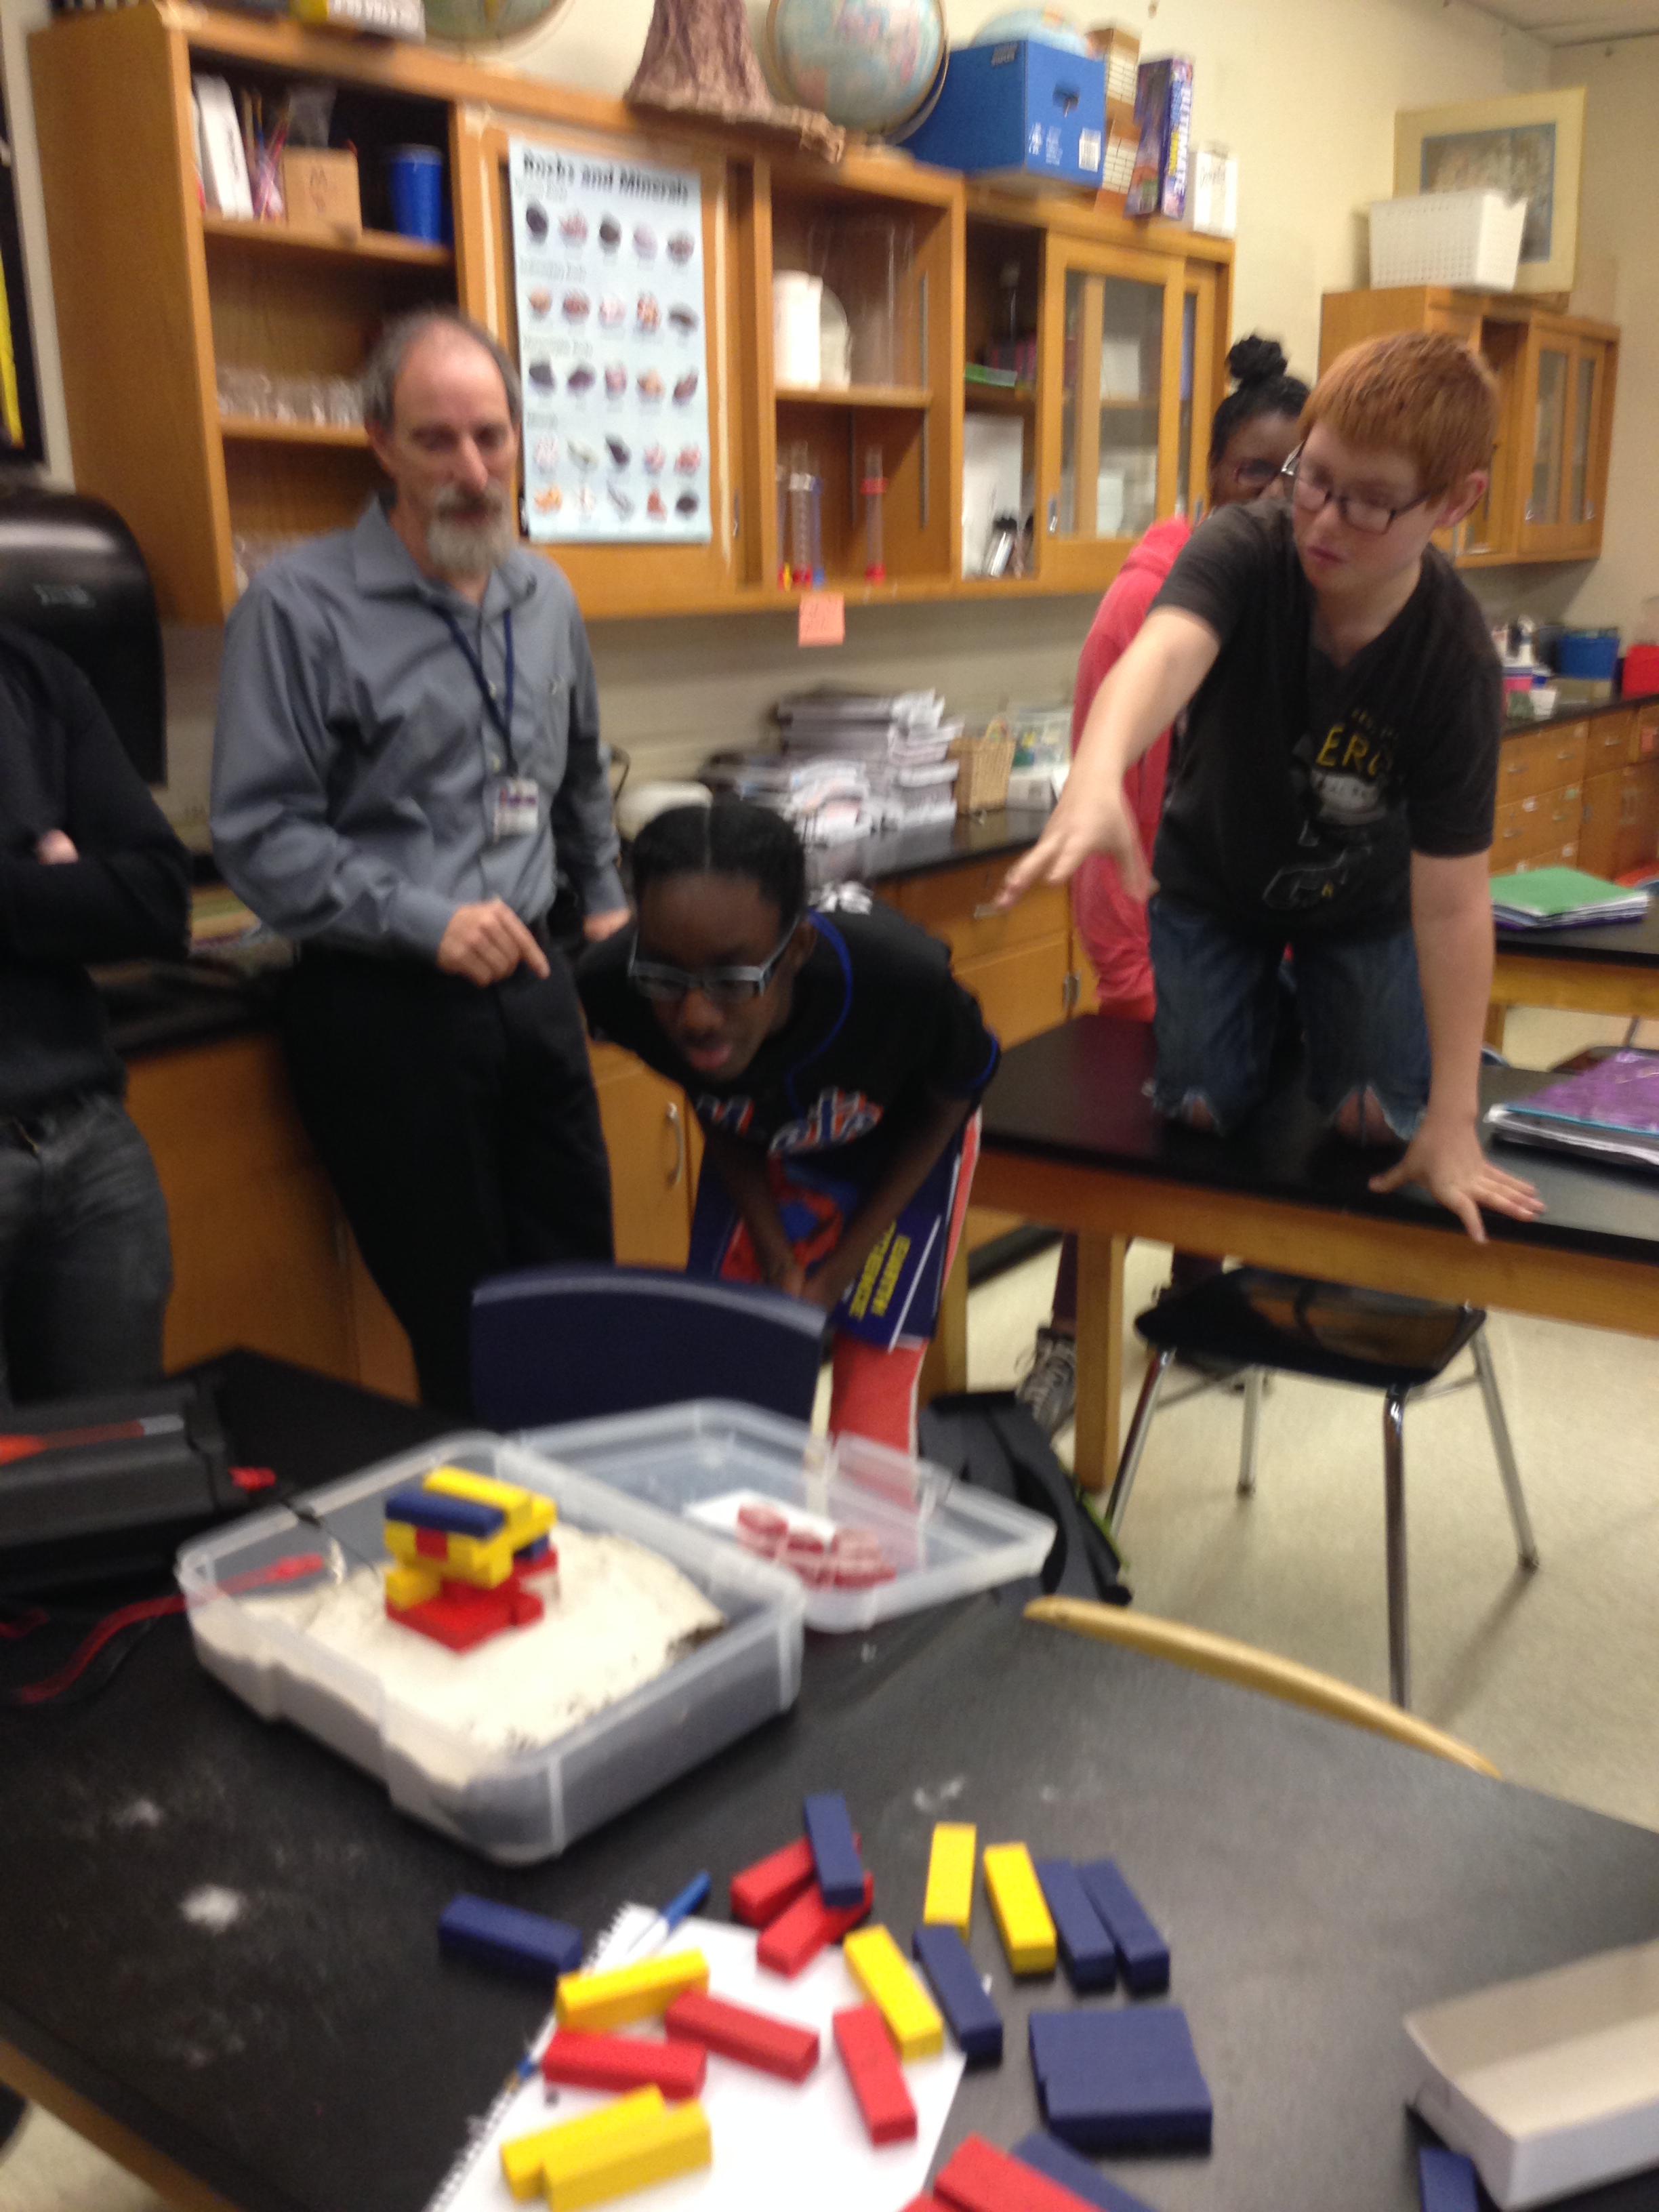
Field Visit #4 – 12/1
Earthquake simulator with tactile transducer
As class began, we delivered a short lecture and Q&A on waves as a mathematical and physical concept. We introduced the sine wave function, drew its shape and described its properties (amplitude, frequency, wavelength). We related these to real-world concepts such as slinkys, ropes, light, sound, tsunamis, and earthquakes. The students’ engagement gradually grew through the short presentation, after which we took questions and then split the class into groups.
To kick off the project, we put on a demonstration of our earthquake device using jenga blocks. The blocks were built up on top of the transducer and the song “Basshead” by Bass Nectar was played through the amplifier. The transducer shook the tower until it fell. We then created a layer of jell-o blocks as a foundation and constructed another building on top of these. We again played the song and the tower stood strong. A short discussion of the dampening properties of the jell-o followed and we moved on to a more interactive game. Students immediately recognized the effects of the jell-o intuitively, but again had difficulty articulating their intuition.
We set up the class in four groups and instructed them to come up with a building design using jenga blocks that stood at least four levels high. Their designs were to be tested against the transducer and the building standing the longest was the winner.
As teams worked on their designs we walked around and carried on discussion about why they might think their building would work. When it failed (as they all failed) we talked about what caused the failure.
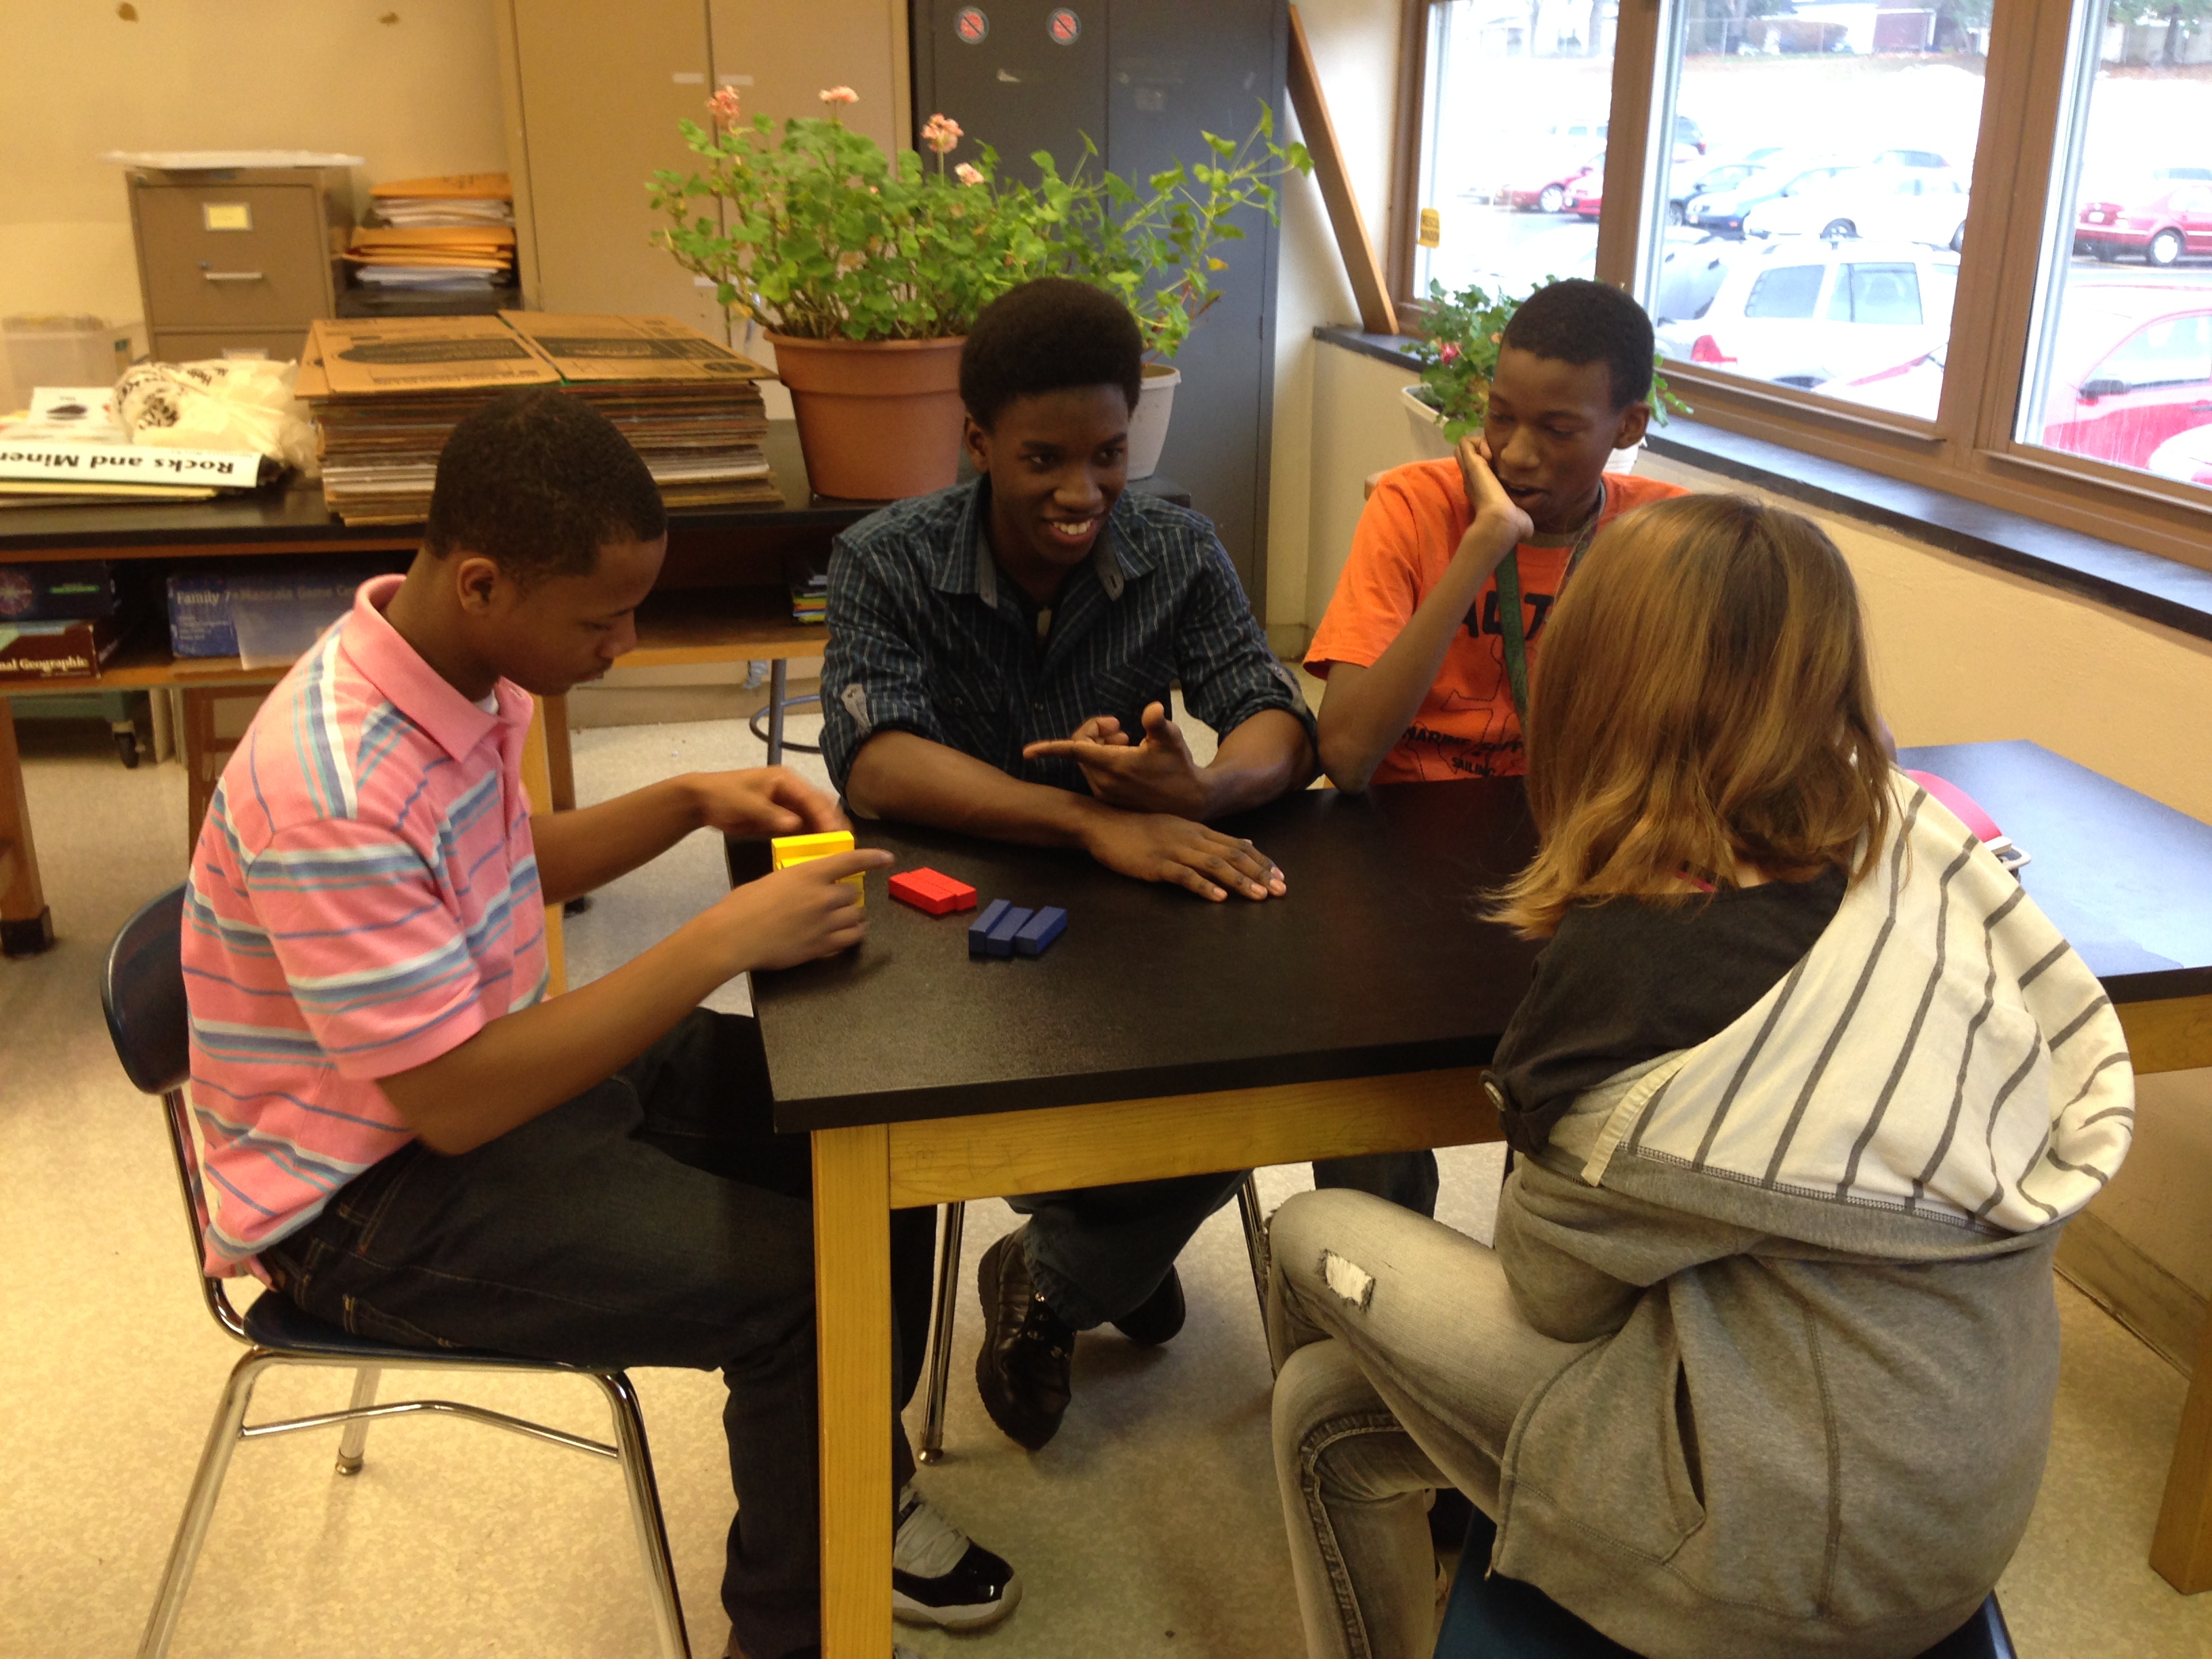
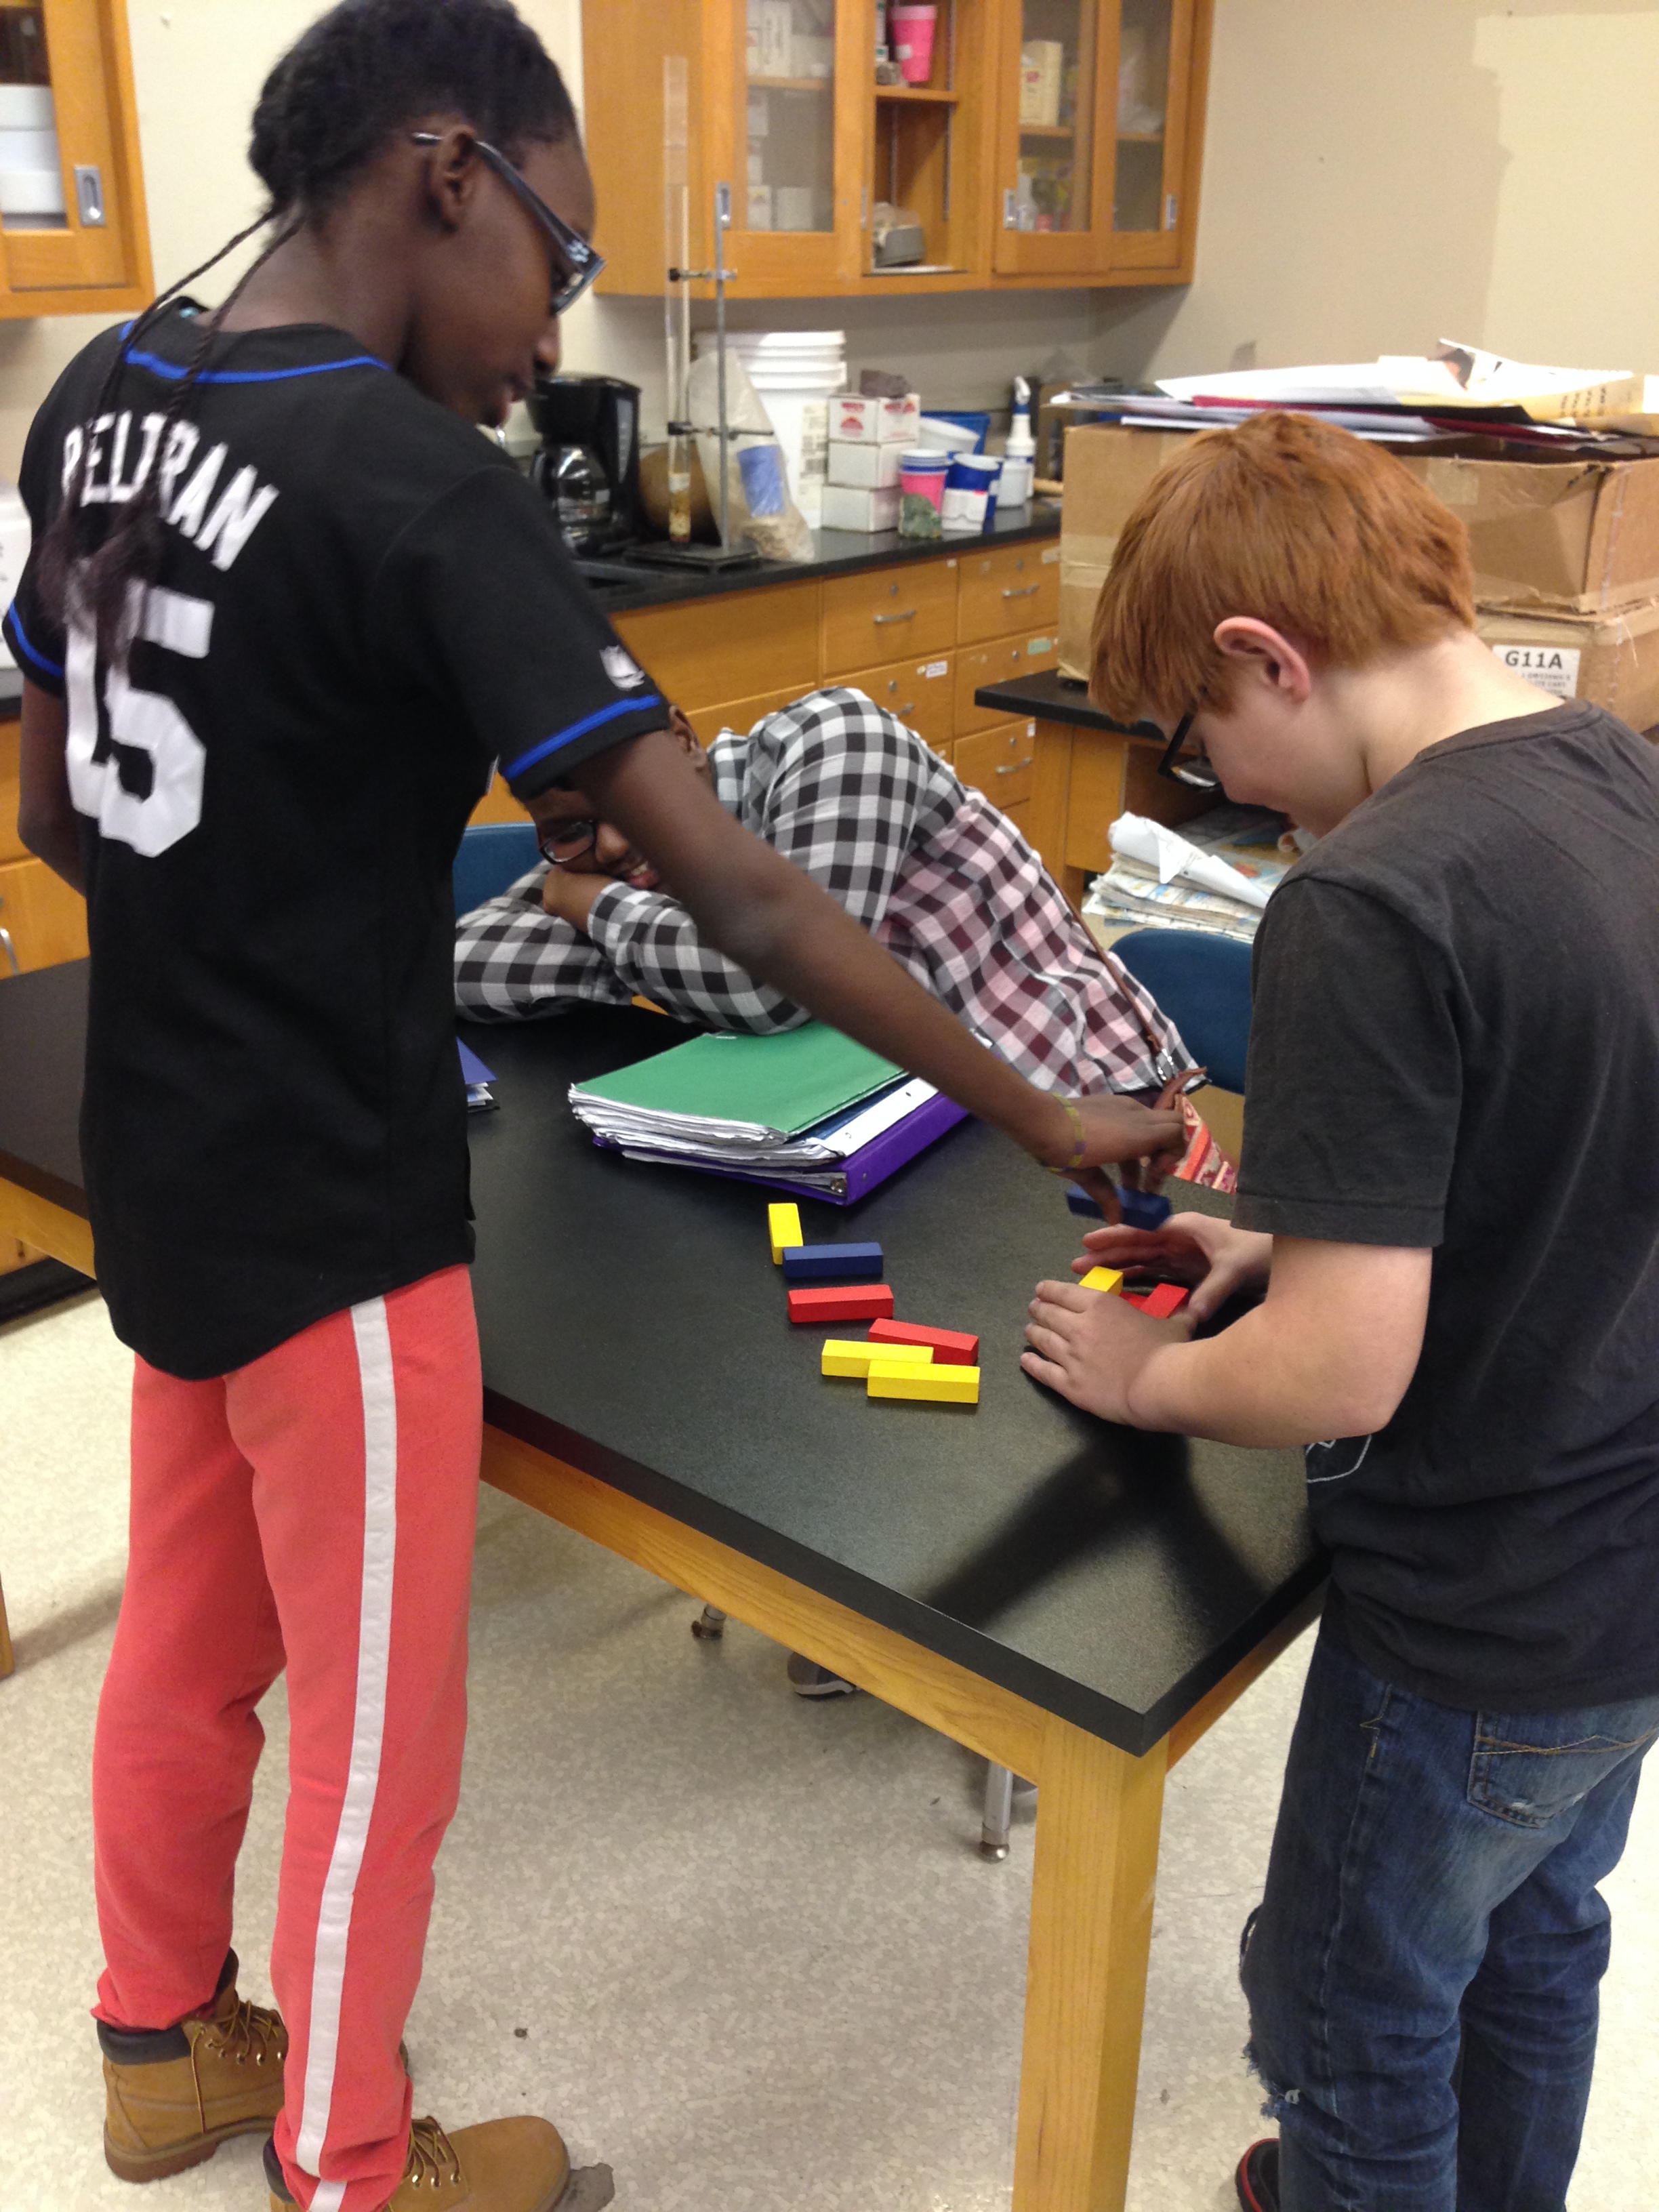
Students building and doing preliminary testing on their Jenga structures. We asked students to form and test hypotheses, which they did very well but were not particularly good at articulating their hypotheses.
One student even began to pre-test his design by creating a beat with his hands on the table and rapping.
Students tested their structures in a competition. The structure which stood the longest won. Note: “Collapse” was defined as any single block touching the sand.