Previous Iterations
Dec 4th, 2014 by boses5
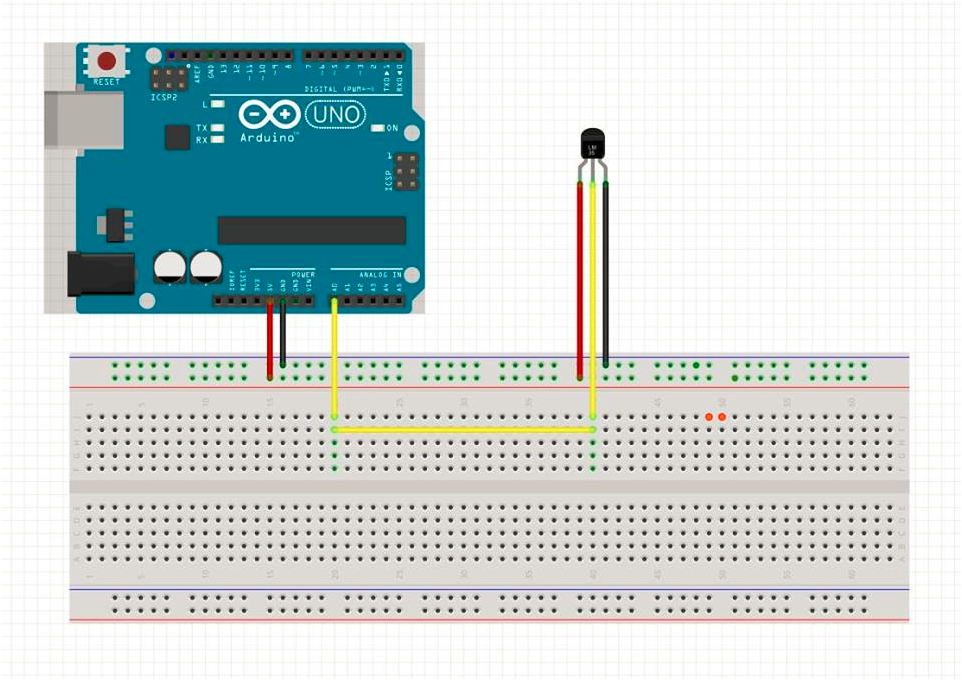
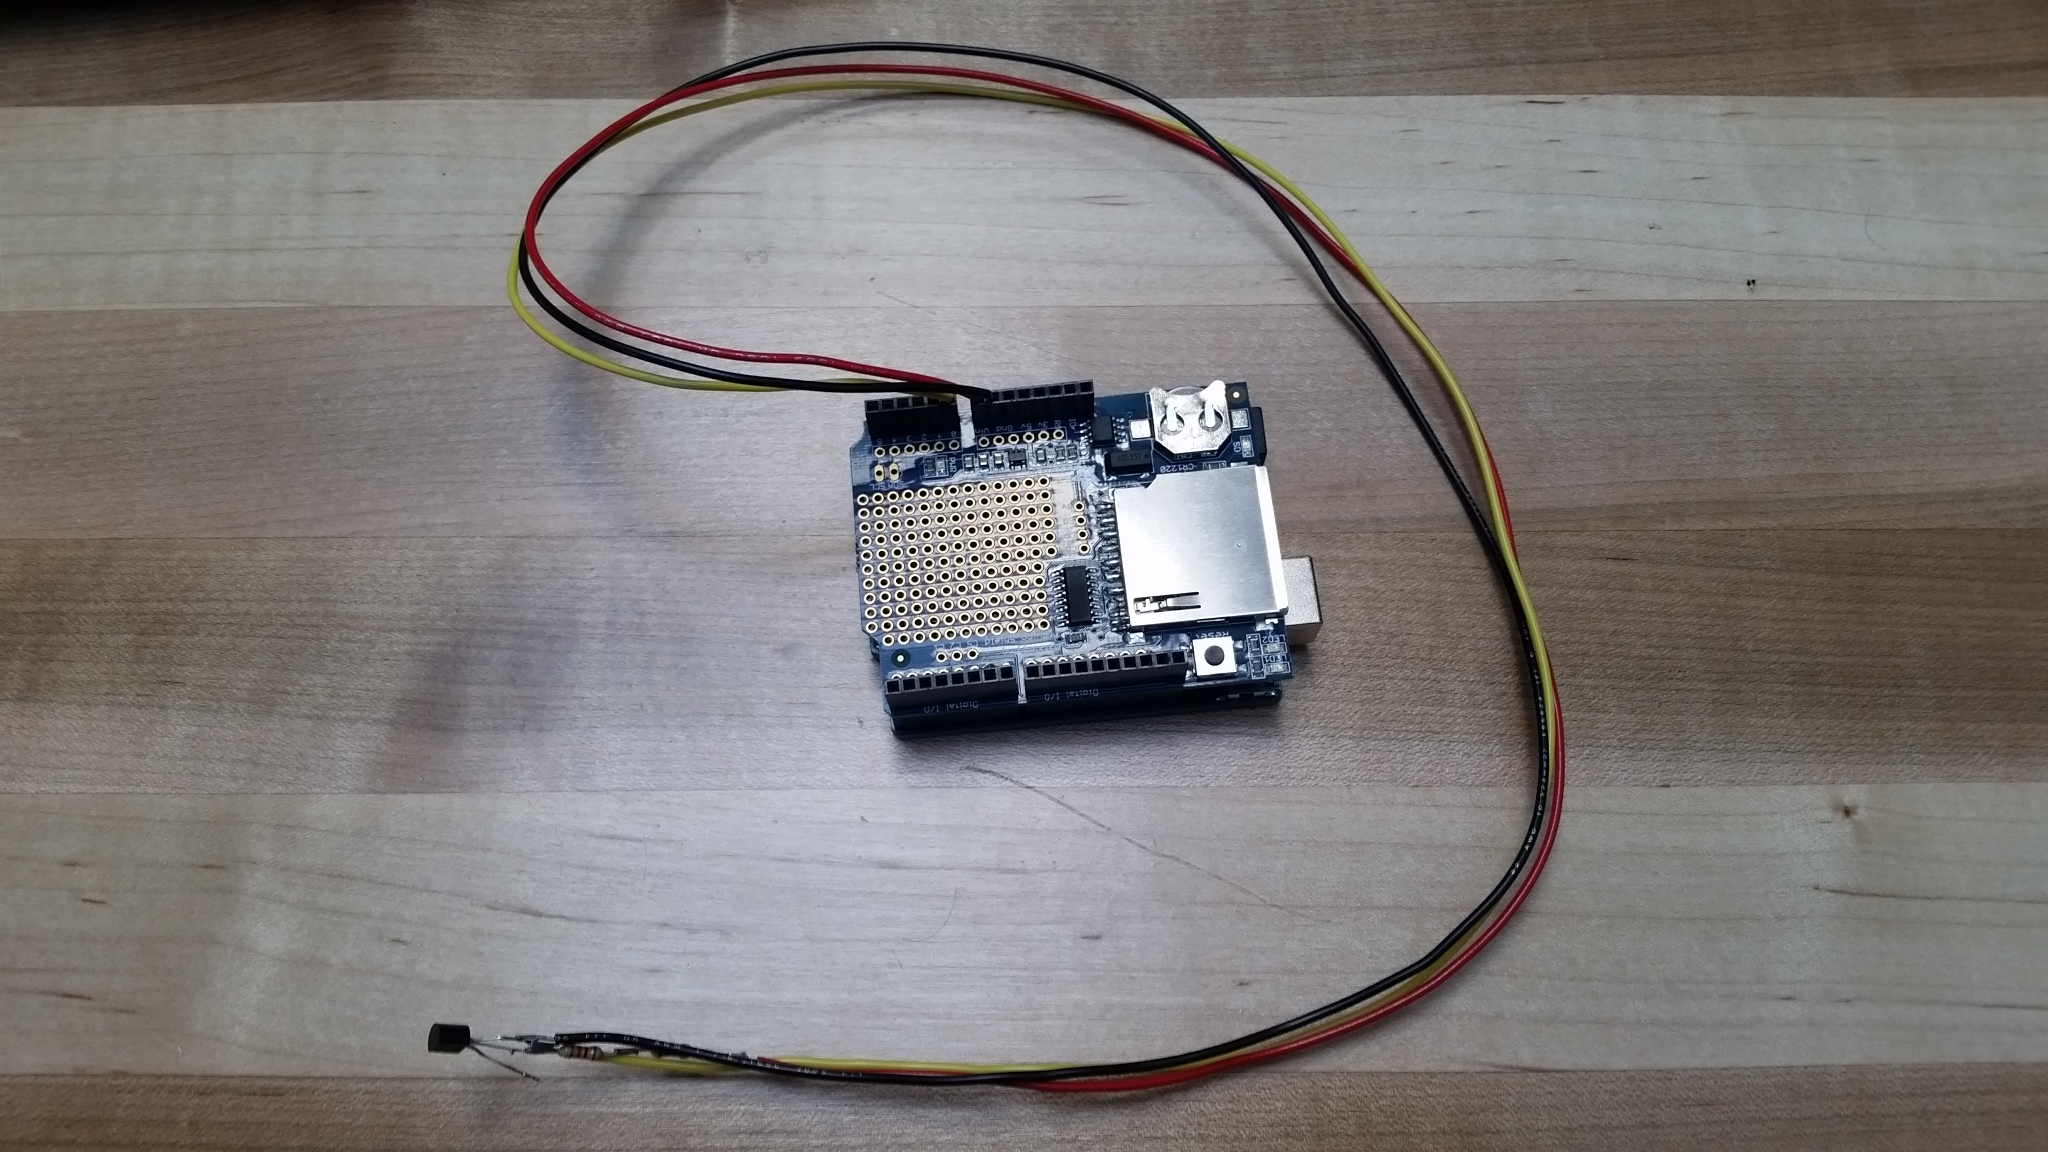
Before arriving at our final design, we had a few different iterations. Originally, we only had a GZ36 temperature sensor hooked up to the Arduino. With this setup, we were able to measure temperature alone. The sensor, though outdated, was fairly accurate. In order to add to the professional development segment of the project, we added in lines of code to act as calibration, which would allow teachers to change the code to get the temperature readouts perfectly accurate. After we got the temperature sensor to work, we added in the SD card shield, which came with libraries that allowed easy integration. Adding in this shield allowed us to log the readings from the temperature sensor at whatever interval we chose. The circuit diagram is shown below, along with our prototype.
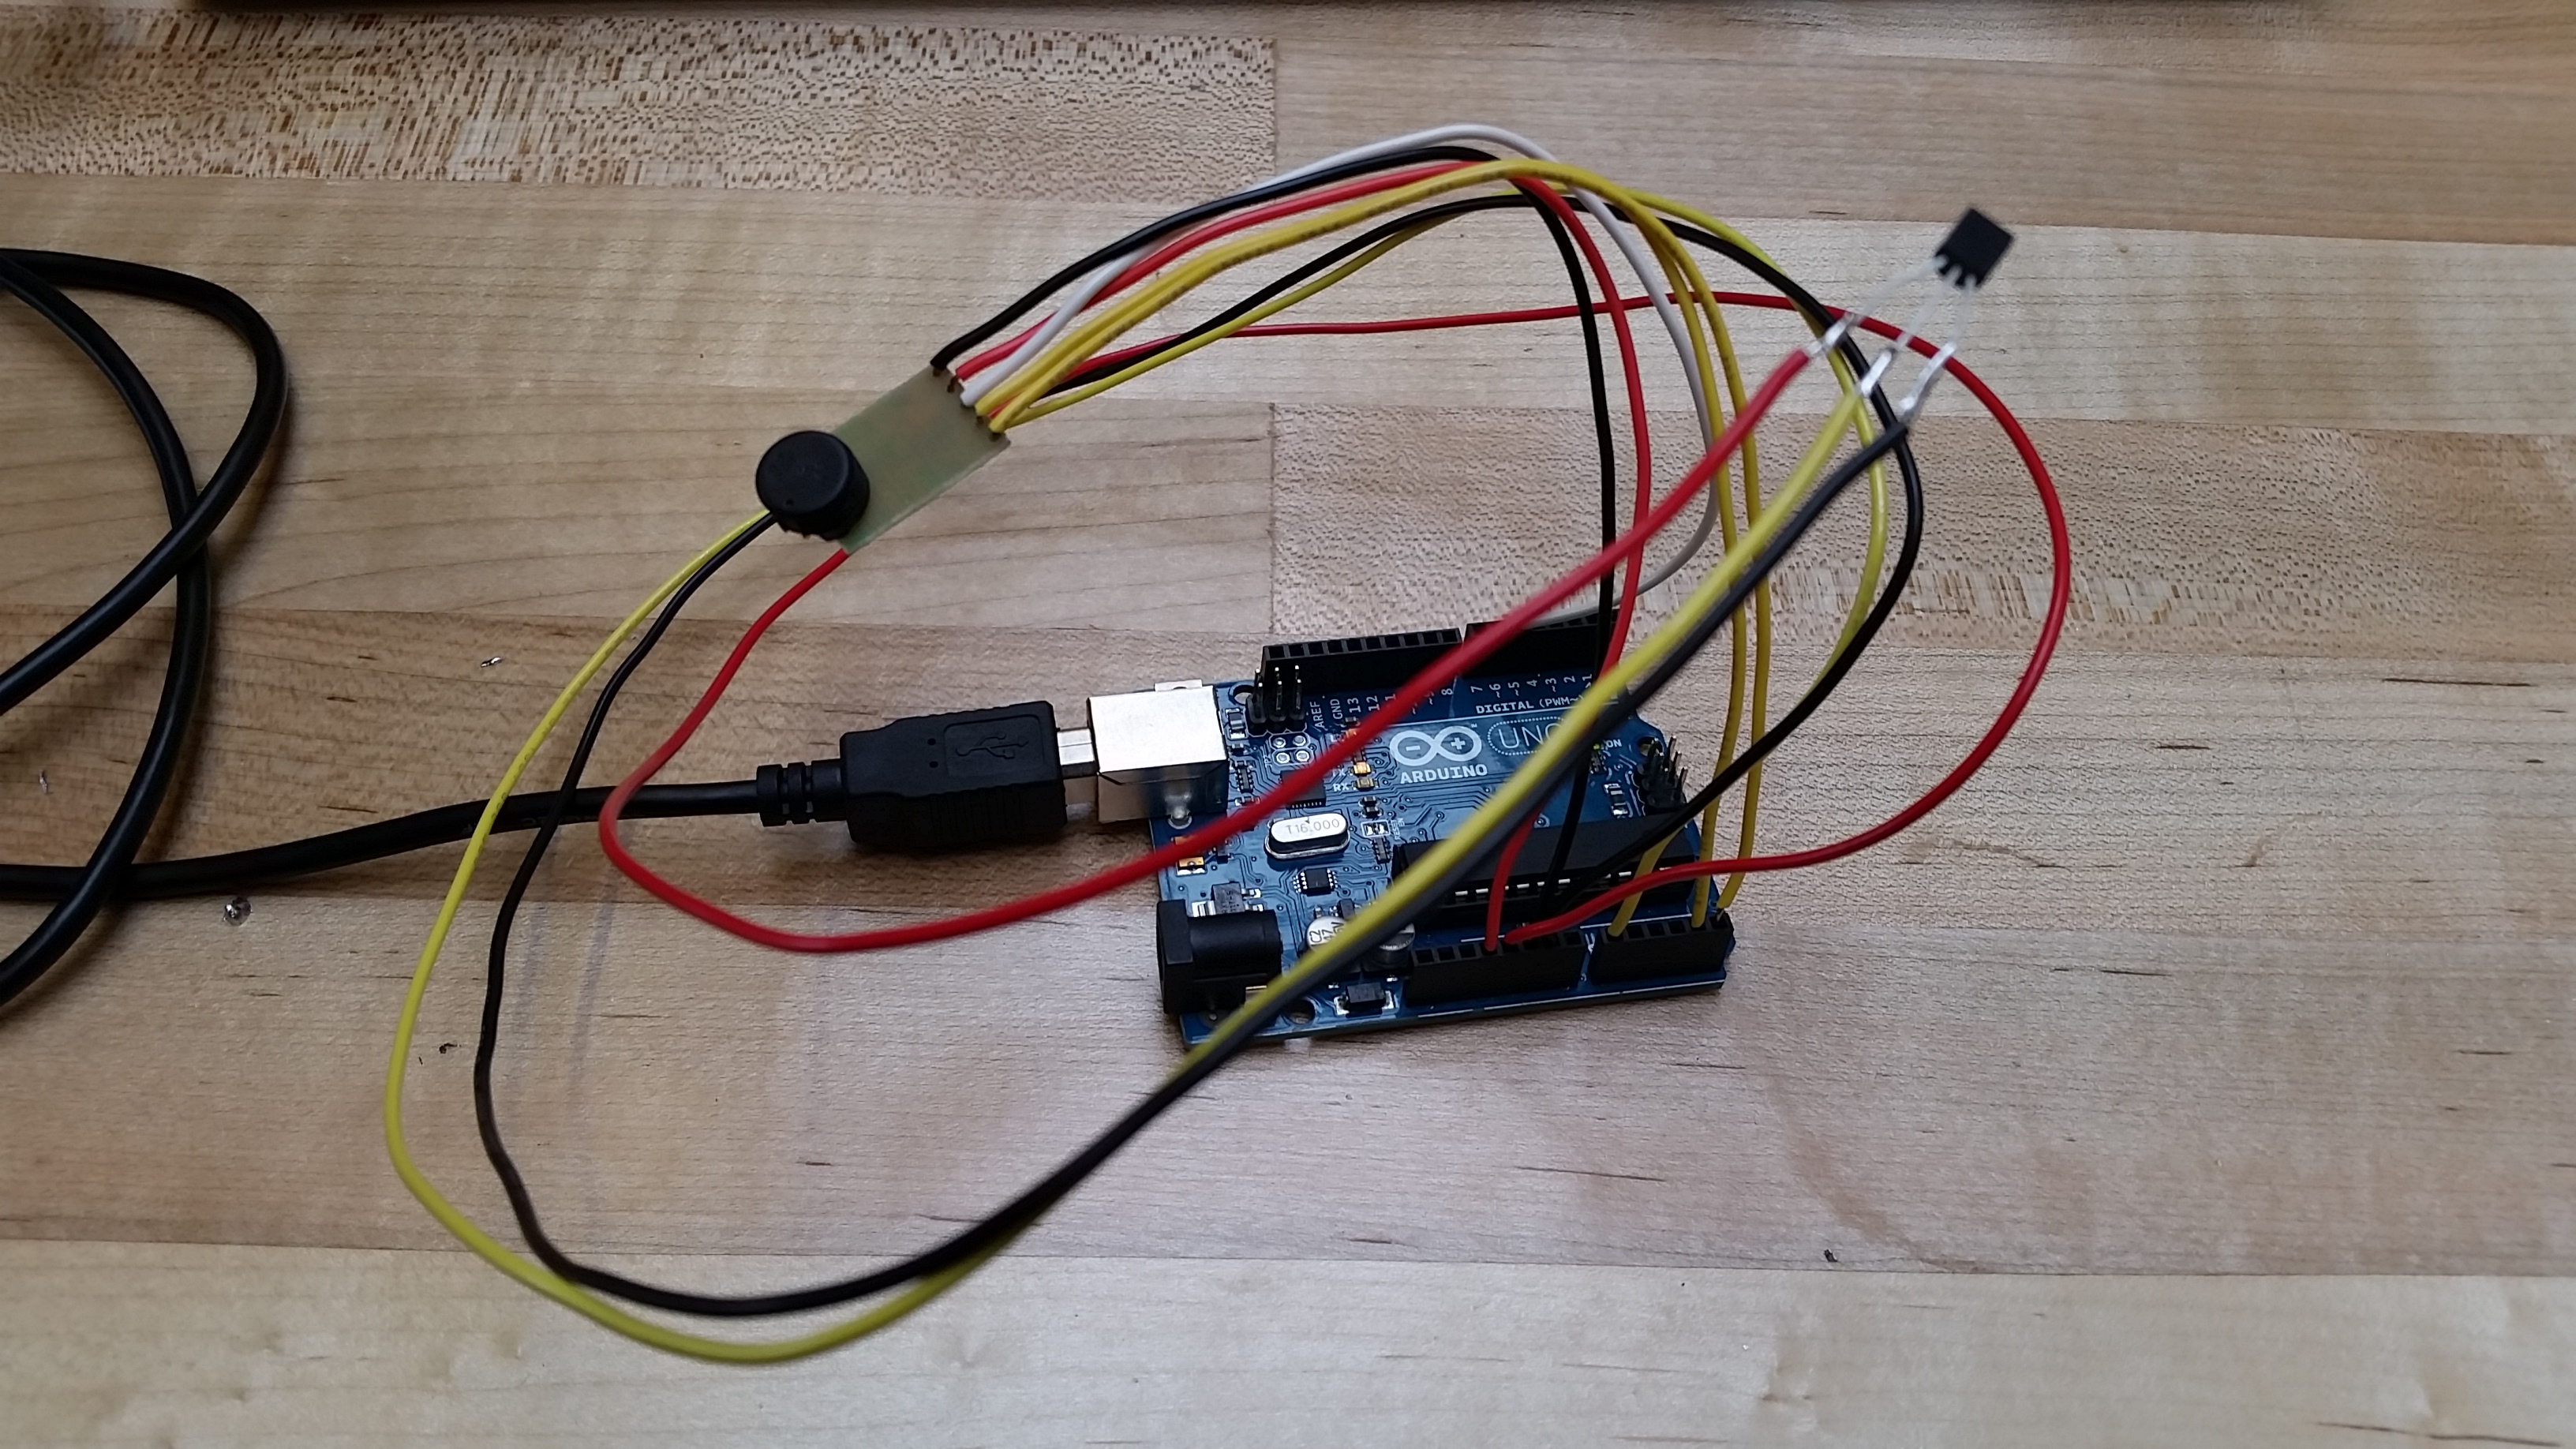
Our next iteration involved adding in the HH10D temperature and humidity sensor seen below. However, this sensor was extremely outdated and we were not able to find any code which could properly integrate with both the sensor and the current model of the Arduino Uno as well as its software. We were not able to successfully read humidity or temperature from this sensor. Our prototype is pictured below.